
Index for the practice piece
- Intro and setup: click here to go to that page
- Row 1: click here to go to that page
- Row 2: click here to go to that page
- Row 3 and finishing: that’s this page
The video
The video for row 3 and finishing: https://youtu.be/FV13zkTuduU
Or see the link at the end of this page.
Row 3
Row 3a, color 1
Written pattern
-
- row 3a – front:
-
- color 2 on top
- side st
- *(back, front)* 10x
Pattern charts


Turn your work. We will continue with the front side.
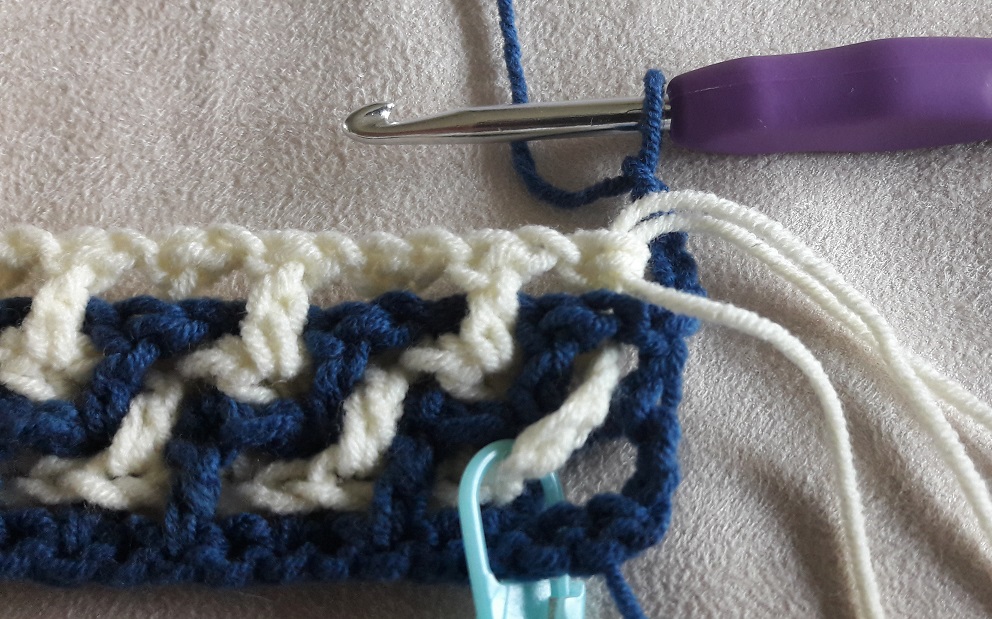
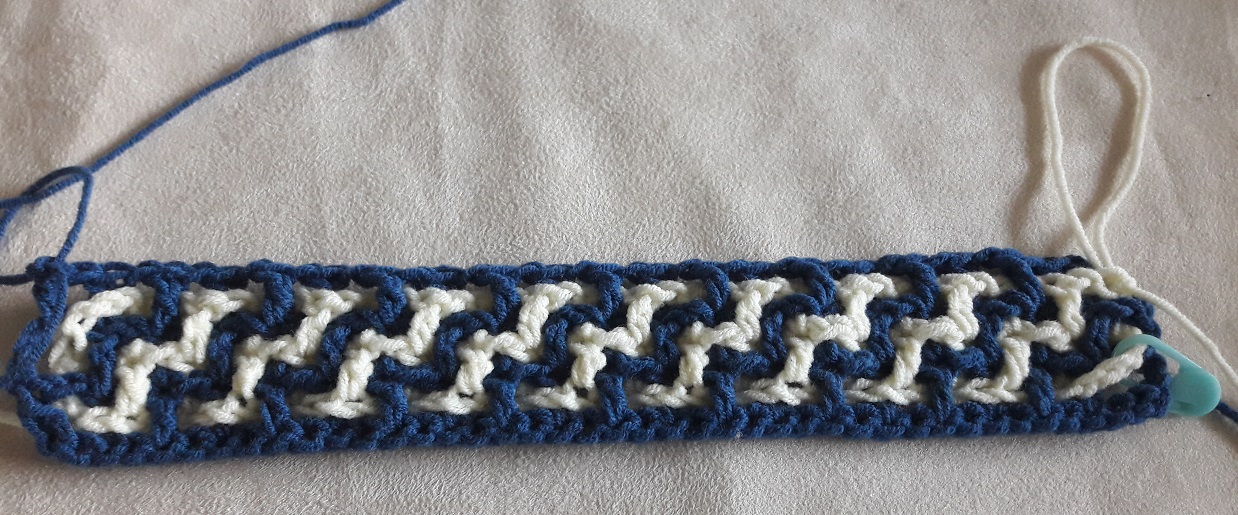
Here you can see the start of row 3a and how it looks when it’s finished.
Row 3b, color 2
Written pattern
-
- row 3b – front:
-
- (front, back)* 10x
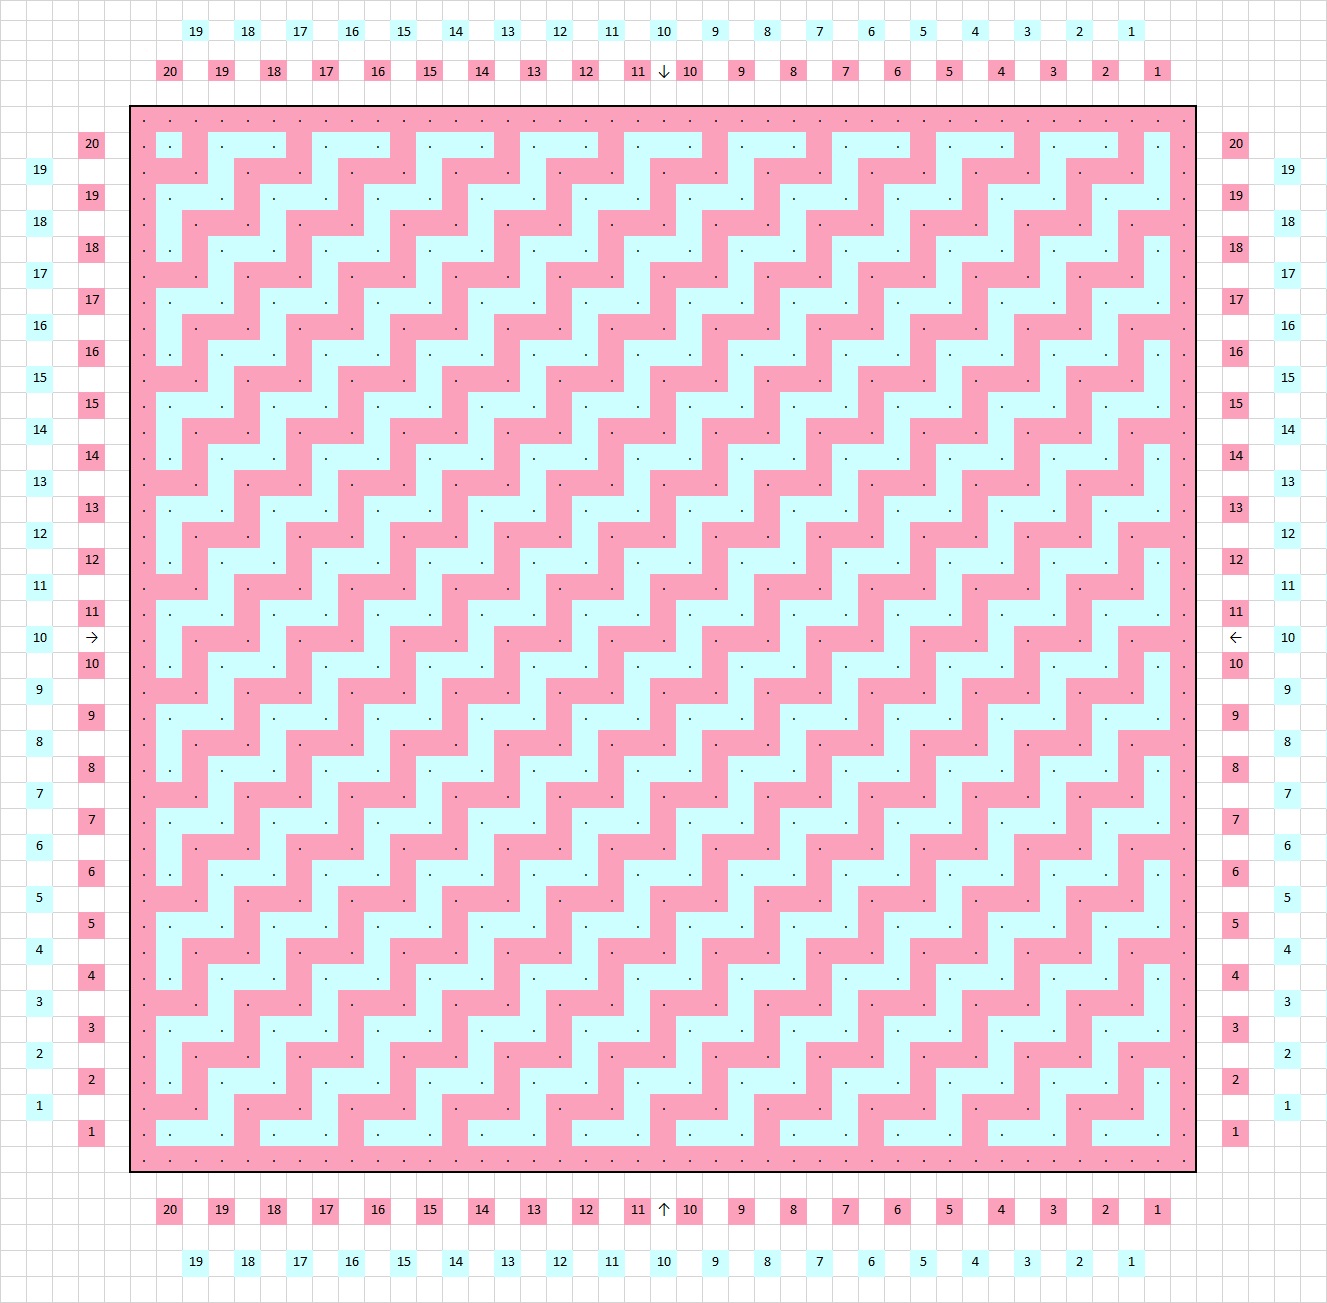
Pattern charts


I show you the partial pattern here one more time, together with a chart with markings. From row 4 on you will now be able to work with the full charts, or with the written pattern.
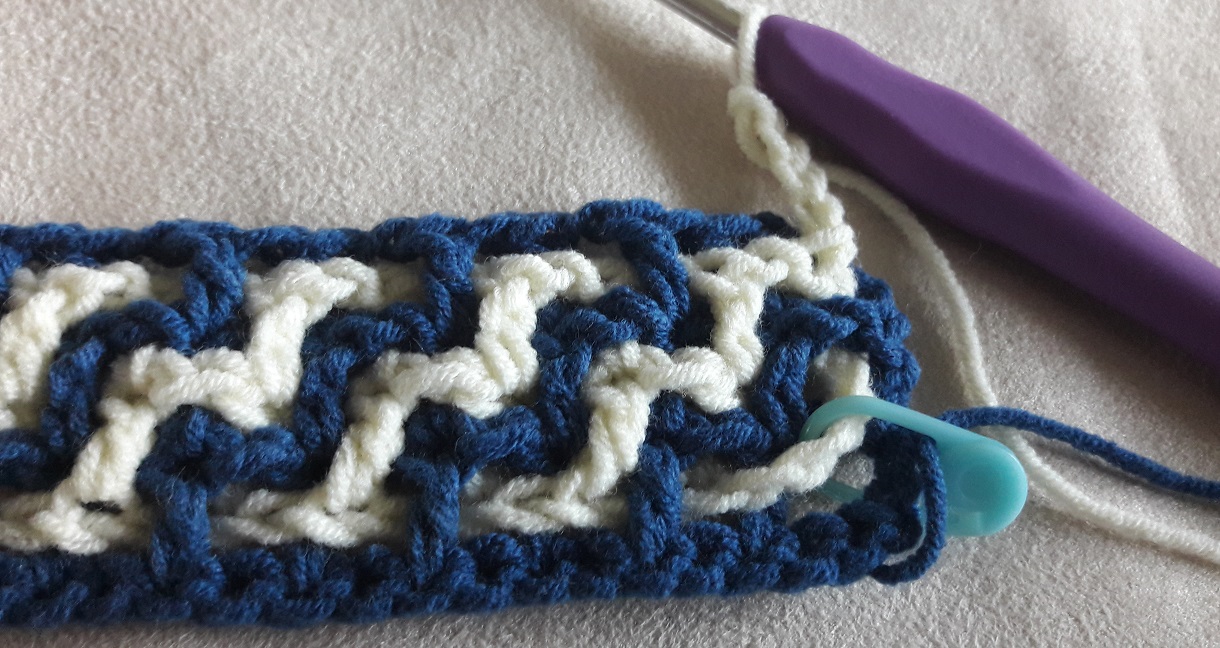
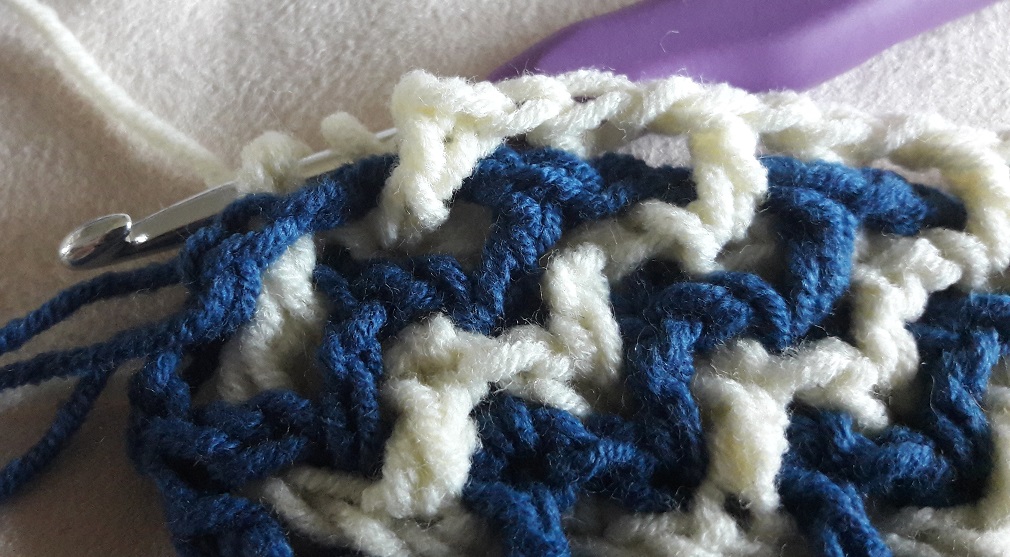
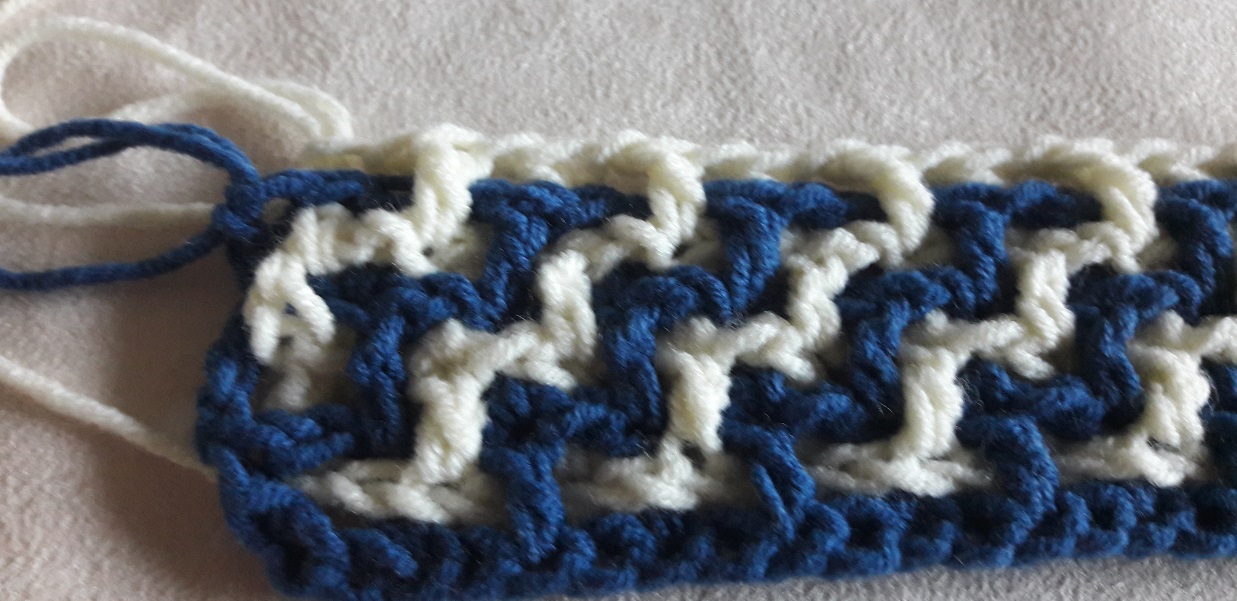
Here the pictures of row 3b. Pay attention to that the last dc must fall on the back side. Pull the chain space to the back for this, so that you can make your last dc there.
The rest of the pattern and the last row
After this I give the downloads again of the entire pattern, and also the full written pattern. At the last row, row 20, you will only do row a. Just like color 2 falls inside of the large mesh horizontally, this also goes for vertically. When you’ve done row 20a, you will see that you will end with a top row that is in the same color as the sides and the bottom.
The entire pattern with description
Pattern charts

Click on the pictures to see the entire pattern and to download them, so that you print them if you wish.
Written pattern
row 1a – front: • color 2 on top, • side st, • *(back, front)* 10x
row 1b – front: • *(front, back)* 10x
row 2a – back: • color 2 to back, • side st, • *(back, front)* 10x
row 2b – back: • *(back, front)* 10x
row 3a – front: • color 2 on top, • side st, • *(back, front)* 10x
row 3b – front: • *(front, back)* 10x
row 4a – back: • color 2 to back, • side st, • *(back, front)* 10x
row 4b – back: • *(back, front)* 10x
Repeat rows 3a, 3b, 4a, 4b 7 times. After that repeat row 3a, 3b en 4a one more time. You will have 20 squares on the outside at each side.
Finished!
Finish the threads neatly by working them into the stitches as invisible as you can. I’m curious what you will make of it. You can keep the piece until the end of the CAL, just in case you don’t have enough yarn if you will make this with another yarn than advised (better safe than sorry…). You can use it also to wash it before washing the large blanket. You can see then if the colors hold on and won’t ‘bleed’. Better discover that beforehand with your practice piece, so that you can take measures, than with the large blanket!
I hope this was a clear tutorial! I know, it was very detailed, but I really wanted to learn you this thoroughly! So you can go through it more quickly with the pattern of the large blanket.
Keep an eye on the facebook groups for the announcement of the next part. On the overview page I have the release schedule, so mark this in your agenda if you want to see the release of part 1 of the CAL right away the moment it is there.
Video