

Okay, please don’t laugh! I know, I know, these nails go everywhere, it seems I’m not a hero with hammer and nails, but, it works! And I did it all by myself! And you can most certainly do this too, probably much much better than me, so I will just explain what I did. Oh, yes, not unimportant, it only costs a couple of euro’s or dollars. I will not say I’m very economical, but I have my moments 🙂 🙂 🙂 . And ehm, it’s just a description of what I did. I guess that the very first handy person will just laugh out load, but, okay, it’s okay with me if I can put a smile on his or hers face 🙂 🙂 🙂 . Tip: even better: have a handy person make this for you 🙂
Want to see the video? Scroll down to the end of this page!
About measurements
I’m Dutch, and I measured everything in centimeters and millimeters. I tried to add the measurements in inches, but please please please, do your own math and check with your own ruler. I sometimes had to round the measurements, so please check. I don’t always know if it’s more familiar to you to use fractionals, so you’re welcome to correct me in the comments. Please do so!
You need…..
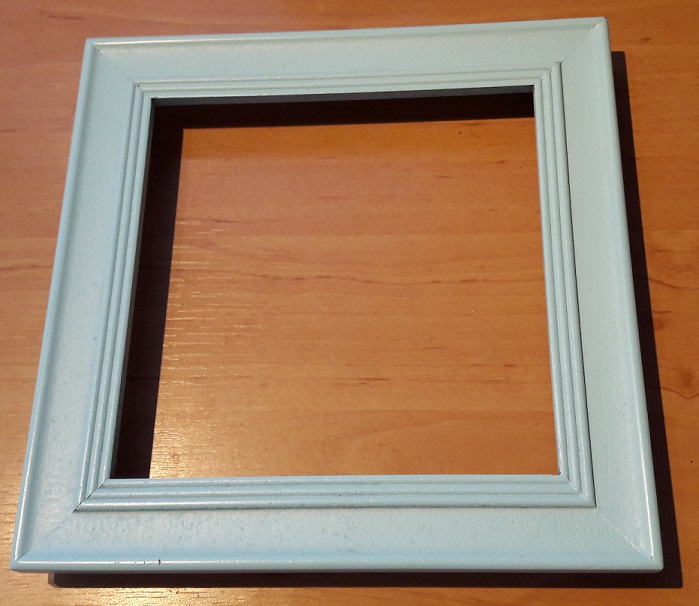
- Picture frame: my frame was 24 x 24 cm ( about 9.5 inch), measured at the outside. Was about 4 euro’s at Action (kind of a Dollarstore). You can buy a smaller one, a bigger one, but I found this one that I thought it was suitable for what I had in mind, and I liked the size
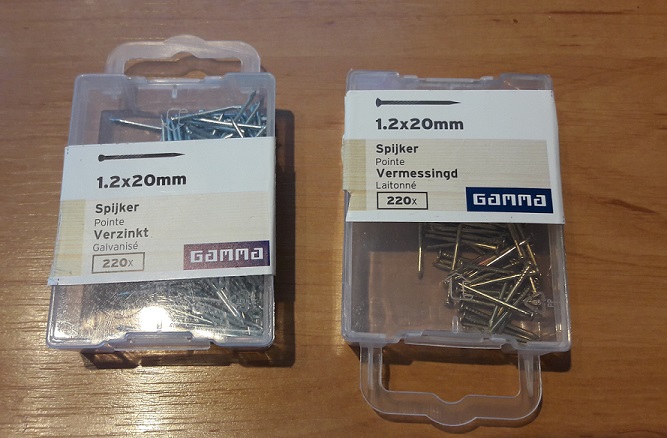
- Nails: 1.2 x 20 mm (about 0.04 x 0.79 inch), a bit more than 2 euro’s at the hardware store. One box would have been enough, but I wanted to have two colors, which I will explain later
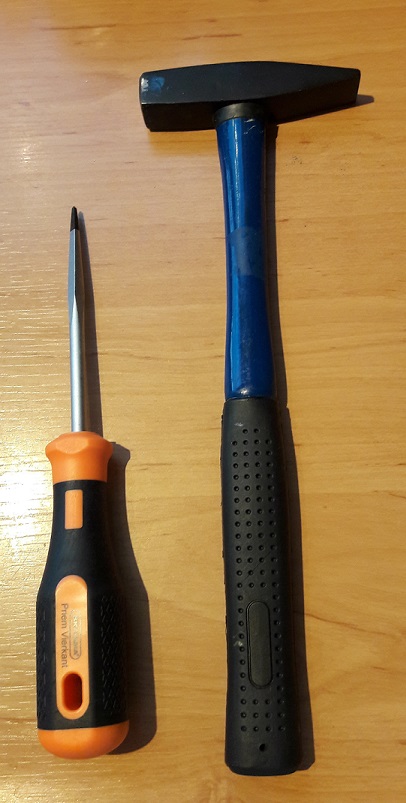
- A hammer
- A prime (optional)
- Ruler and pencil
- Screwdriver (optional)
And next…
Step 1: remove everything
I first removed the glass plate from the frame. There were some clips on the back, that held the glass and the drawing that was in it in place, and a ribbon was attached, to hang the frame on the wall. So I removed that all (needed to use a little screwdriver for that), so that only the wooden frame remained.
Step 2: measuring and what to take into account
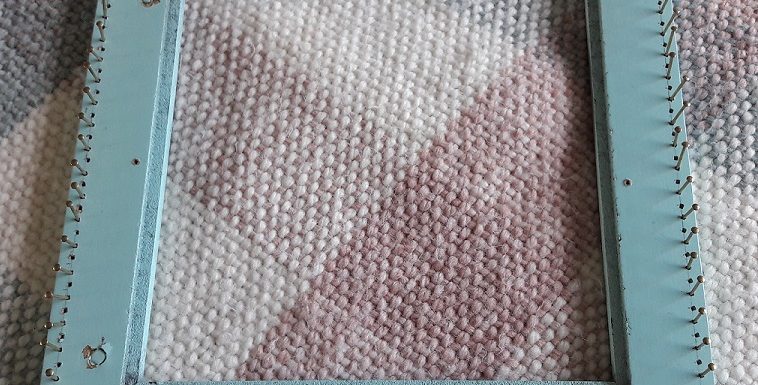
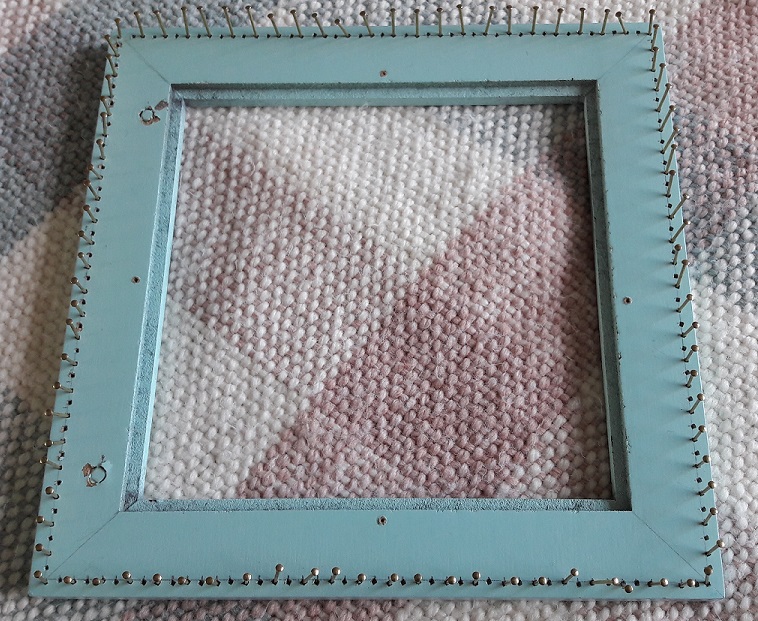
First of all you need the same amount of nails on each side. It doesn’t matter if it’s an even or odd number of nails. You will have a nail on each corner, and the rest goes in between them, in a square. As you can see in the picture of the loom, on the left side there are 2 places where the ribbon was attached. The wood was pierced a bit, so I decided that I didn’t want to have nails in that area. I expected, that if I had to put nails in these places, they would get loose in no time, so I had to go to the inside or the outside of the frame. I chose for the outside. I decided that I wanted to use as much space as possible, so I went to the outside as close as possible. Actually, you can better leave more space between the outside of the frame and the nails. I used a square of 23 cm (9 inch), so I had 0.25 inch left on each side, but it’s better to make that a little wider, so you can hold the frame in your hands better, to have more grip. I would go for at least 1 cm (0.4 inch) if I had to do this again.
Second: you need to have the same space between two nails. I first started with 0.5 cm (0.2 inch) between every 2 nails, but there were 2 reasons I turned away from that. The first reason were my hammering skills. The nails got very close to each other, and if a nail leans over a little bit to the nail next to it, you won’t have very much space where the yarn should go around. And that maybe would have been an issue anyway, reason numer two. Because, even when I would have managed to get these nails in super straight, there wouldn’t have been much space between the top of 2 nails, because they are a little bit wider at the top compared to the thickness of the nail under the top.
Step 3: mark where the nails have to go
I made a square of 23 x 23 cm (9 x 9 inch). I first drew the lines on the wood with a pencil, and then I made a mark at every 1 cm (0.4 inch). Okay, it was half a centimeter (0.2 inch), but let’s forget that for now. I did this at all four sides. Okay, I see that if you use inches, you cannot put a multiple of 0.4 inch in 9 inch, so make it 8.8 inch in total. You will have 1 nail less than me. If you really want 23 nails like me, you have to make the distance between 2 nails a little bit shorter, but spread them evenly! And, of course, it depends also on the size of your frame.
Stap 4: hammering
Yep, that was quite some fun! Nail number 1: ‘how on earth am I going to do this???’ My long nails were in the way, so: ‘how am I going to hold this without banging on my fingers ???’ And: ‘how hard should I have to hit actually???’ And: ‘how deep do these nails have to go, will it hold in the end???’ Ehm, well, just try this… Okay, after two nails I found out that it was not really going how I secretly had hoped to go. Woman of the world, come on, I should be able to hammer some nails in a piece of wood, shouldn’t I??? 🙂 🙂 🙂 . Ehm, yes, they were in it, yes…. I had the idea that it would help if I had a little start for them to go into the wood. So, I went to our local hardware store, explained my problem to them, and returned with a prime. So, I put the prime at the places where the nails had to go, gave the prime some beats with the hammer, and so I got me little holes for the nails to go in. It helped. A bit. The nails now wouldn’t go anywhere around the room, so that was nice, but you still have to beat straight. Well…., what shall we say…. 🙂 🙂 🙂 . I looked how far they had to go in so they were secure enough, but high enough to leave space for the yarn to go around it, and of course not that far into it that they would come out on the other side of the wood.
Mission accomplished
And then it was finished! In the end it didn’t take that much time to make it. When you’re going along, it just goes fine, and you become more handy along the way. And then the final question came: will this work? Are the nails not going to fall out? Because, when weaving, there will be a light tension on the yarns, but it shouldn’t be that much tension, so if I could get my tension like it should be, it should work out. And it did! It worked like a charm! So, proud of myself, a bit 🙂 .
The expiration date
Let’s be honest: no, it will not last till eternity, but so far I did quite some things on it. Till this very moment I just had to tighthen 2 nails with a bit of hammering, after I pulled a weave off the loom and probably pulled a bit too hard, and I saw a nail becoming a bit wobbly. But, for this amount of money, I think that’s totally okay!
What can you make with this?
I will show you some examples I made. These aren’t finished projects, but how individual weaves look. Of course they have to be ‘processed’ further, into shawls, wraps, table runners, bags, or whatever you would like and where your imagination gets you. They are not washed, not ironed, but now you will have an idea. I describe in other tutorials the technique that is used to make them. Look in the menu for them. I will be making a lot more by the way, with different techniques. The method I used for the samples below is with a continuous strand of yarn, but you could also use threads that are cut short. These are also woven on the diagonal, in a simple plain weave, with very bulky, medium sized and thinner yarns. It can all be done on this pin loom, so there are a lot of possibilities.


The video, with English subtitles!