
Index for the practice piece
- Intro and setup: click here to go to that page
- Row 1: click here to go to that page
- Row 2: that’s this page
- Row 3 and finishing: click here to go to that page
The video
The video for row 2: https://youtu.be/X0-ZAoOGTOI
Or see the link at the end of this page.
Row 2
Row 2a, color 1
Written pattern
-
- row 2a – back:
-
- color 2 to back
- side st
- *(back, front)* 10x
Pattern charts


Turn your work. You will now be working on the ‘back side’, so you must take the pattern of the back side. This way you can always check visually if you’re doing it right. You see in the pattern here that the stairs go up to the left.
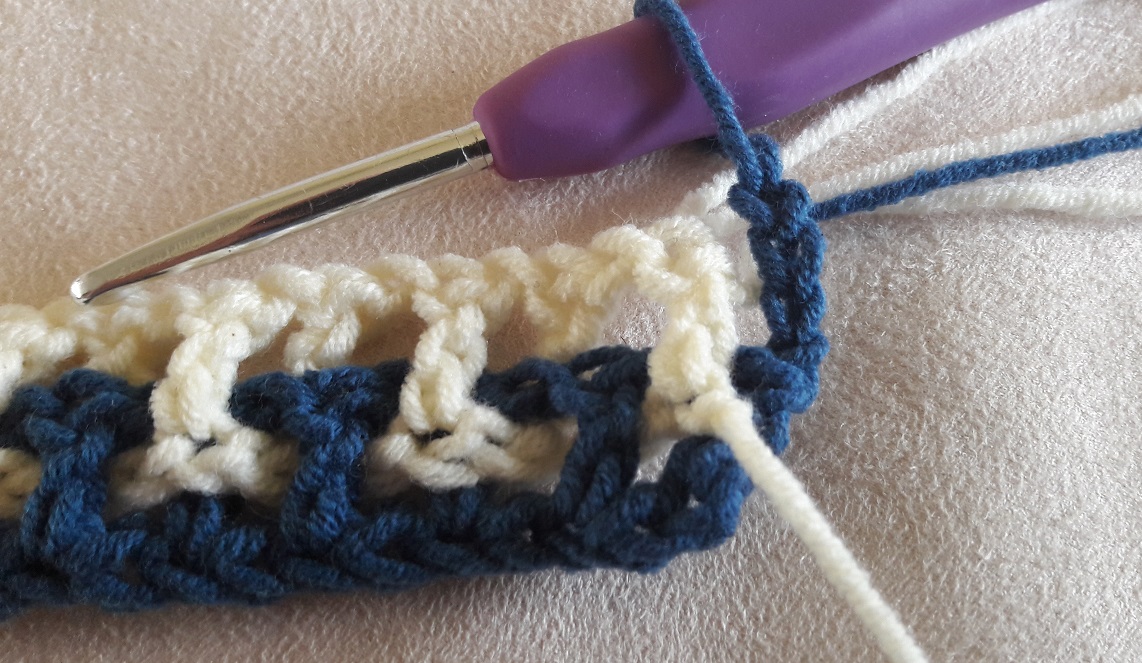
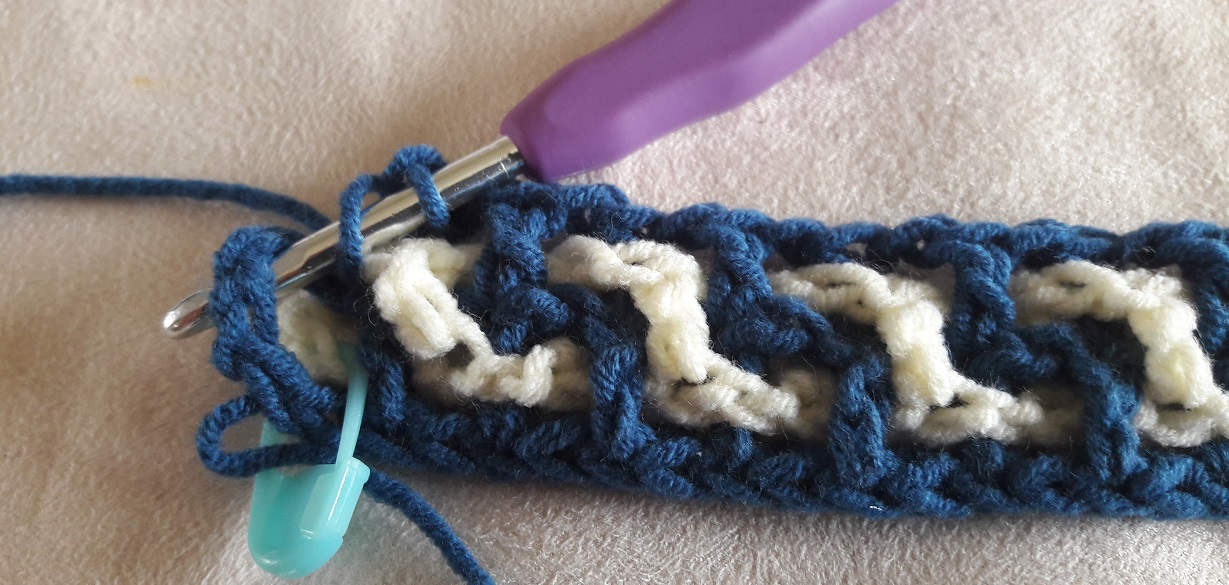
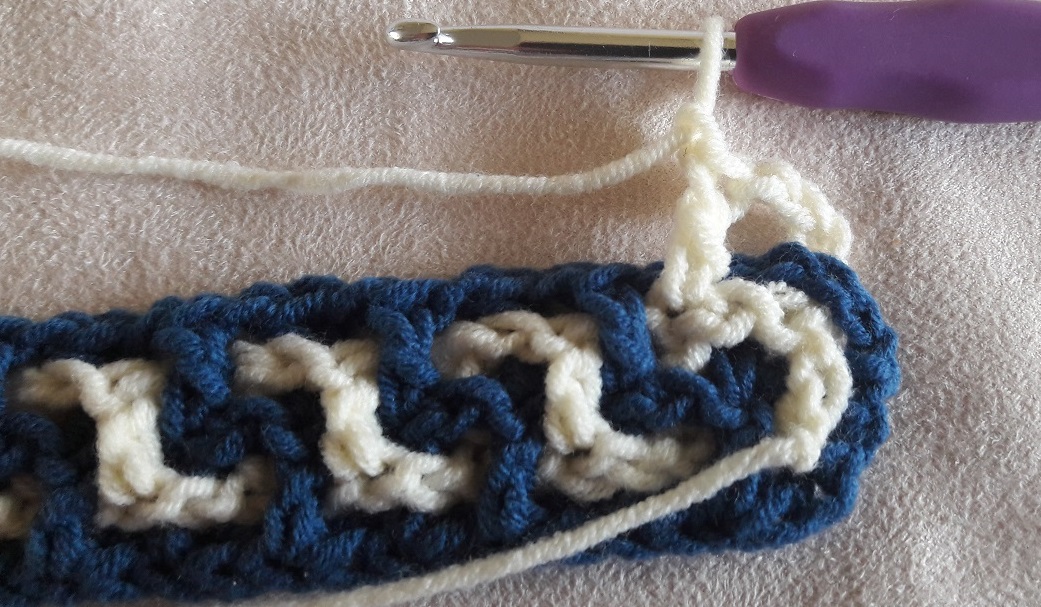
Start with laying color 2 to the back. Make your side dc and the in-between-chain. You will be working into the stitches of the previous blue row!
The next dc must be made on the backside of the work. The nice thing now is that you don’t have to count any longer to see where you should make your stitch. You will work into the top of the 2nd dc of the previous blue row. Take up the 2 top loops of this dc as usual!
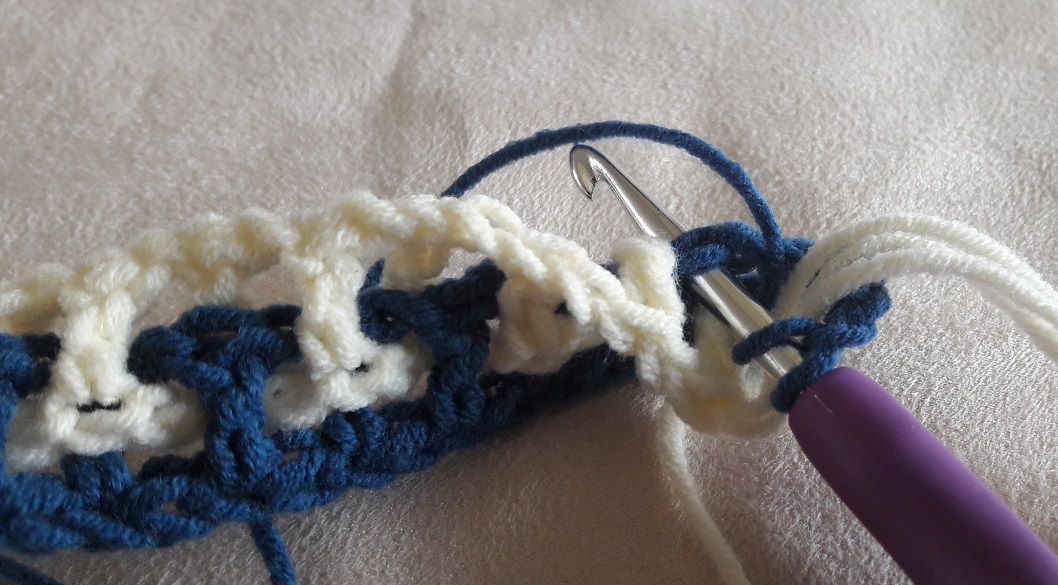
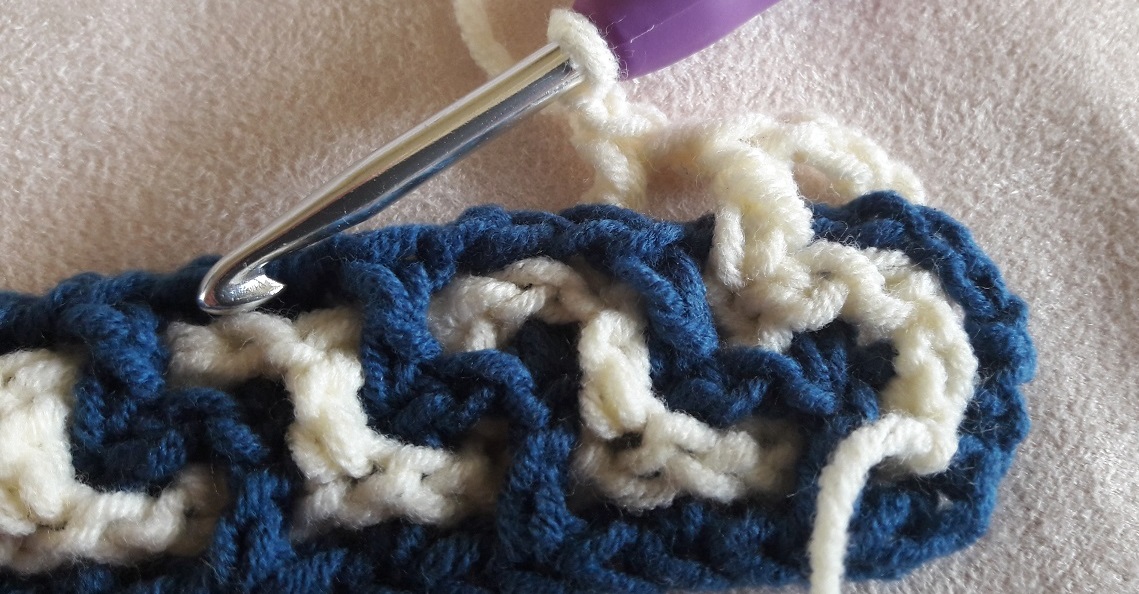
Fold the top of the white row out of the way to the front, and finish the dc.
The next dc (after the in-between-chain, I will not mention that from now on), must be made on the front side. This will be made into the top of the third dc of the previous blue row. Fold the top of the white row to the back so you will not work into it.
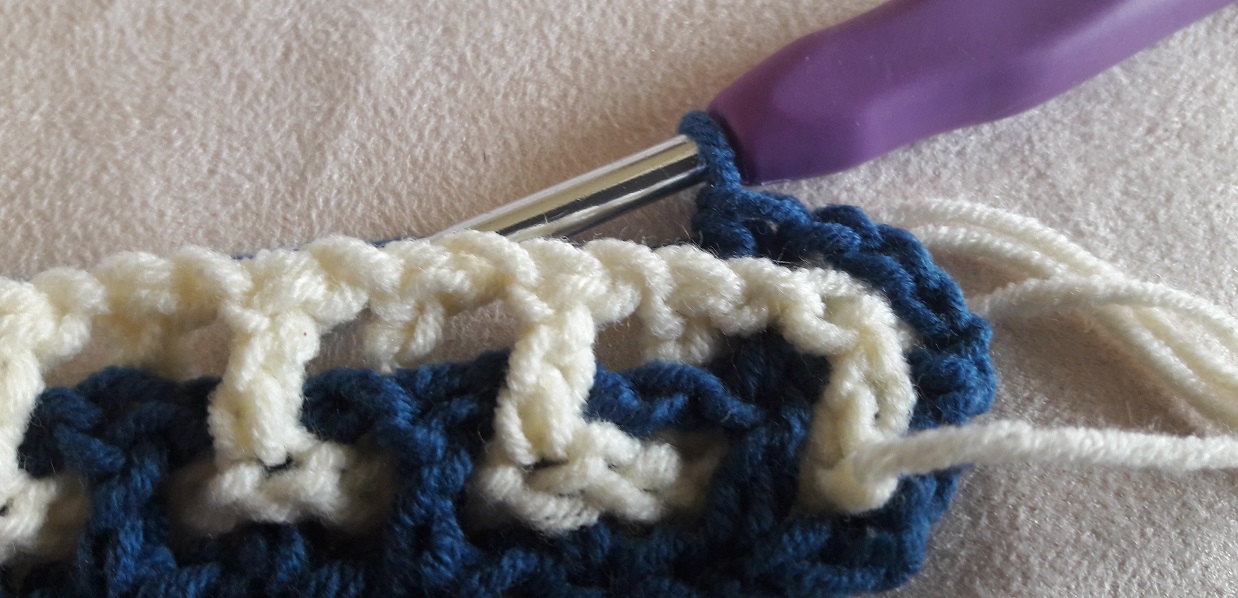
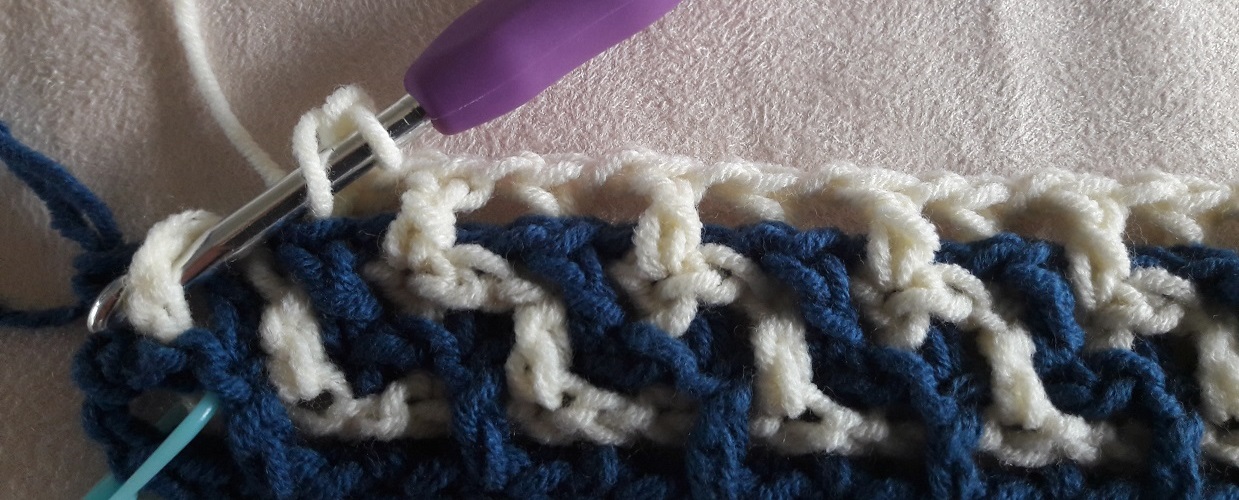
Finish the row in this way: alternating back and front.
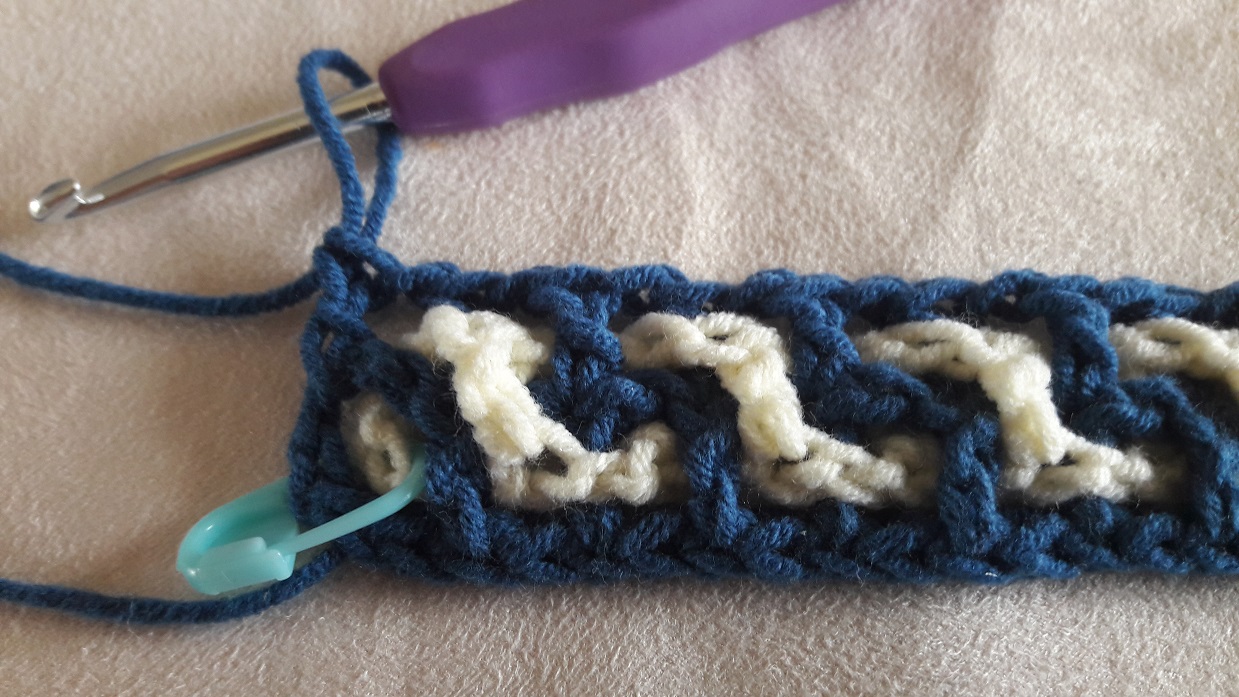
When you have come to the last dc of the row you have a couple of options to finish it. If you didn’t use turning chains as a first dc, than it’s the best to see where the top of that dc is and insert there.
If you did use turning chains like I did, you have a choice. You can skip 1 chain and insert your hook into the next chain (I did that with the blanket), but you can also simply work into the chain space. I used that for the practice piece. Experiment to see what you prefer and like the most.
You are now ready with row 2a. I hope you noticed how fast this goes. Row 1 was one that you had to bite through, but I hope this encourages you for the rest of this practice piece, and also for the blanket of course.
Row 2b, color 2
Written pattern
-
- row 2b – back:
-
- (back, front)* 10x
Pattern charts


With row 2b we will continue at the backside with color 2.
At the start of row 2a you’ve seen that color 2 had to be put to the back. If you have done that, you will see that the start is correct right away. The start dc will automatically fall behind the work.
You will now be working into the previous row of color 2.
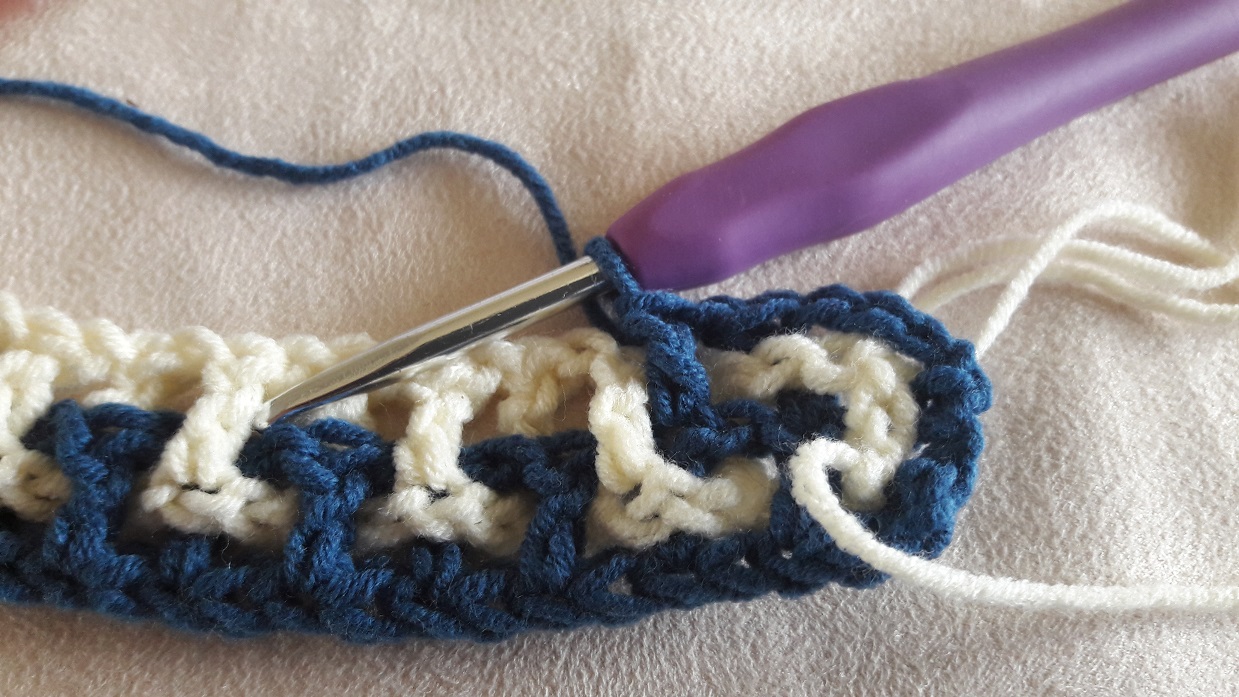
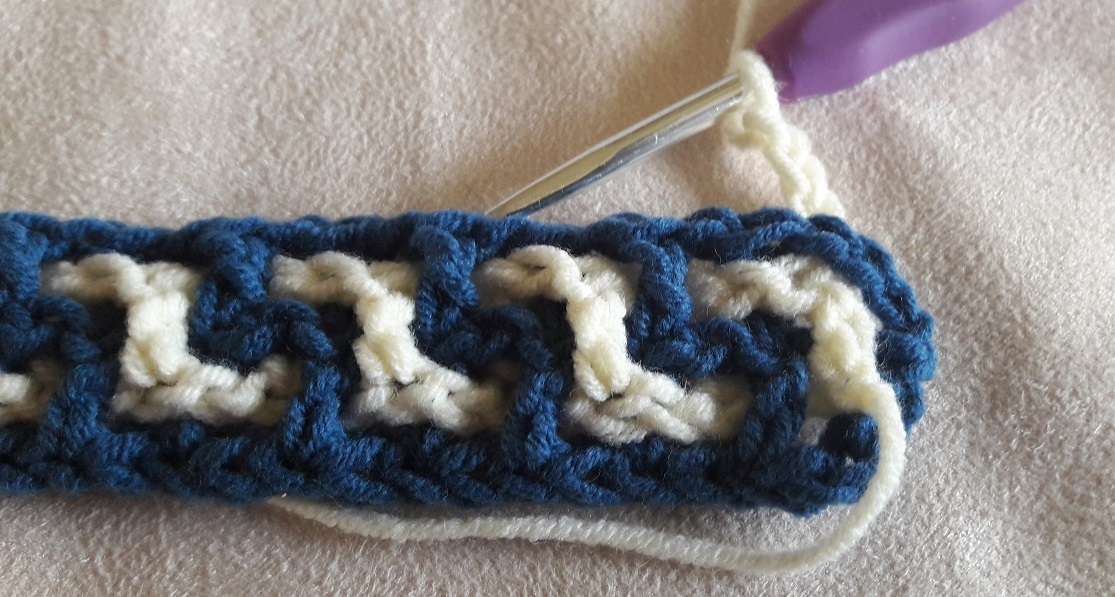
Here you can see that you will work into the dc’s of the previous white row. The second dc on the front side, the third on the back side, and you will continue alternating like this until the end.
The last dc of row 2b must fall on the front side. If you want to work into the chain space like here, you have to pull it to the front a bit to be able to insert the hook. But, like I told at the end of row 2a, you can also just skip 1 chain and insert into the next chain or into the top of your version of the starting dc.
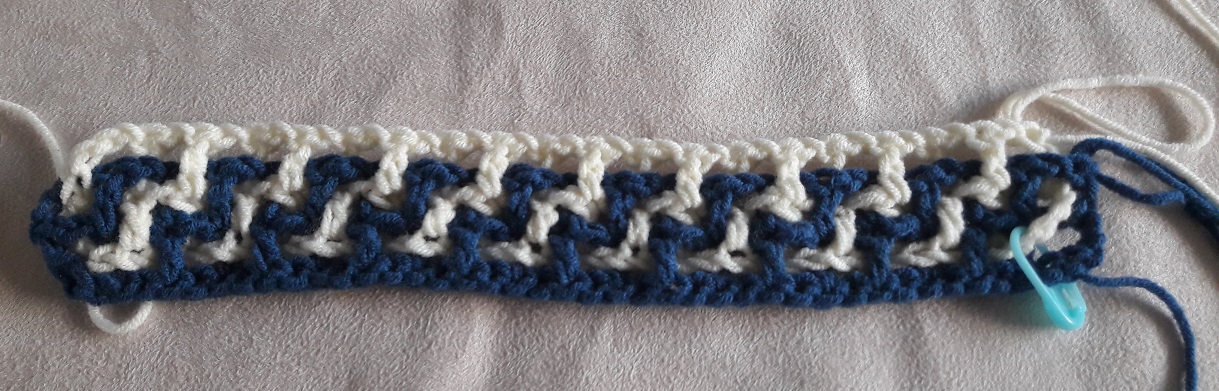
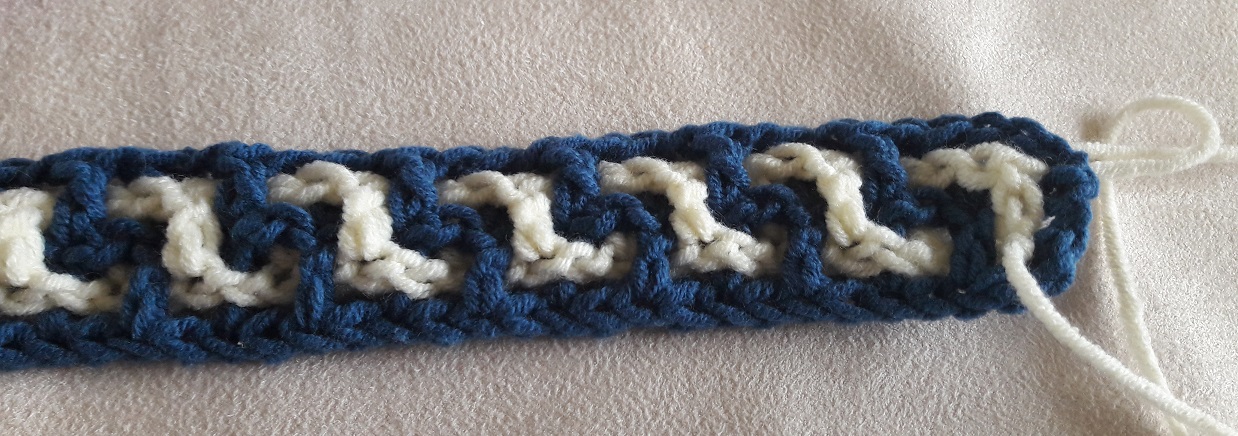
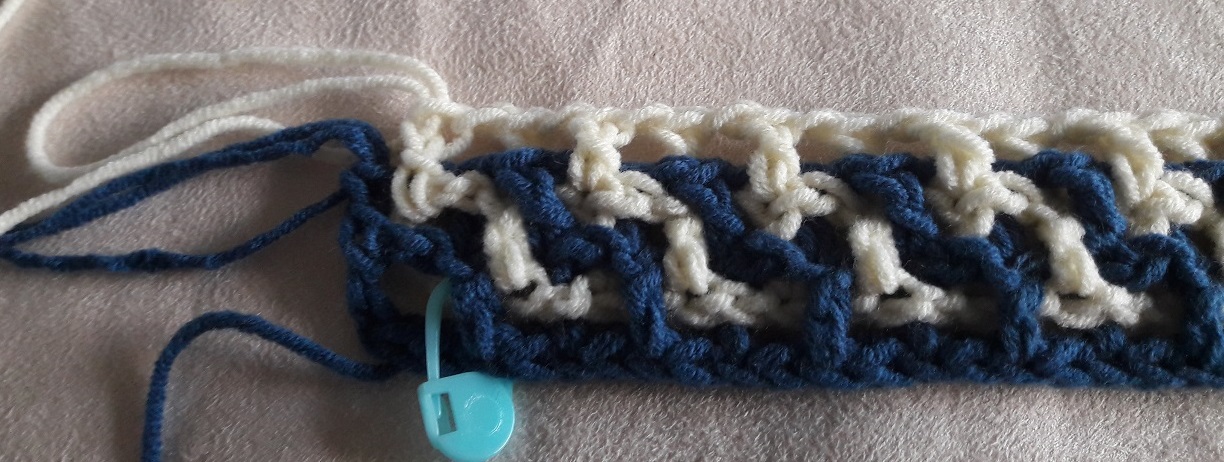
And this is how the row looks when you’ve turned your work again. This is the starting position for row 3a.
Row 3 and finishing of the practice piece
Click here to go to the page with the tutorial for row 3 and the finishing