
Index for part 1
- Intro and setup: click the link to go to that page
- Row 1: that’s this page
- Row 2 and further: click the link to go to that page
The video’s
I also made video’s for this.
The link for doing the setup and rows 1a and 1b: https://youtu.be/fo1azHj_1uk
The link for rows 4b to 6b: https://youtu.be/wUGQdgiNyPw
Or see the links at the end of this page.
Row 1
Because you have a lot of stitchmarkers this time it’s a bit unhandy to do a row of squares in color 1 first, and then weave through the chain row of color 2. So we will do rows 1a and row 1b kind of alternating. The ‘weaving through’ and the crocheting is done bit by bit.
Written pattern
The description for row 1a is as follows:
-
- row 1a – front:
-
- color 2 on top
- side st
- *(back, front)* 60x
The description for row 1a is as follows:
-
- row 1b – front:
-
- *(front, back)* 60x
Steps
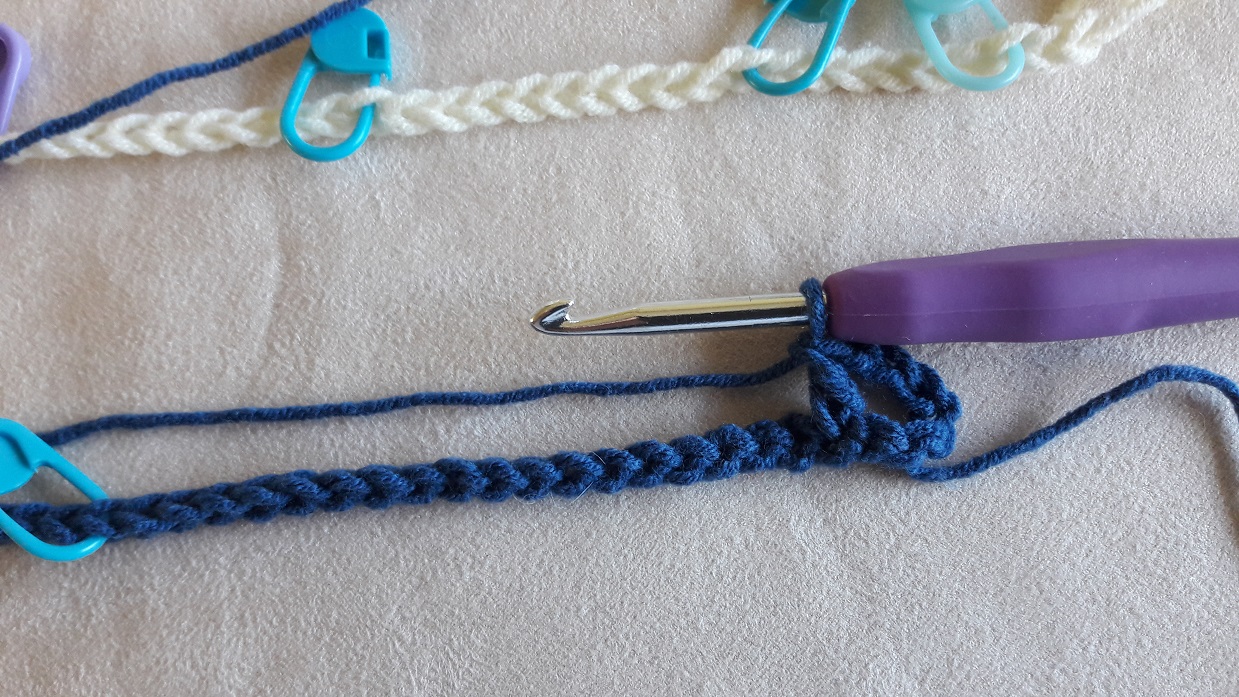
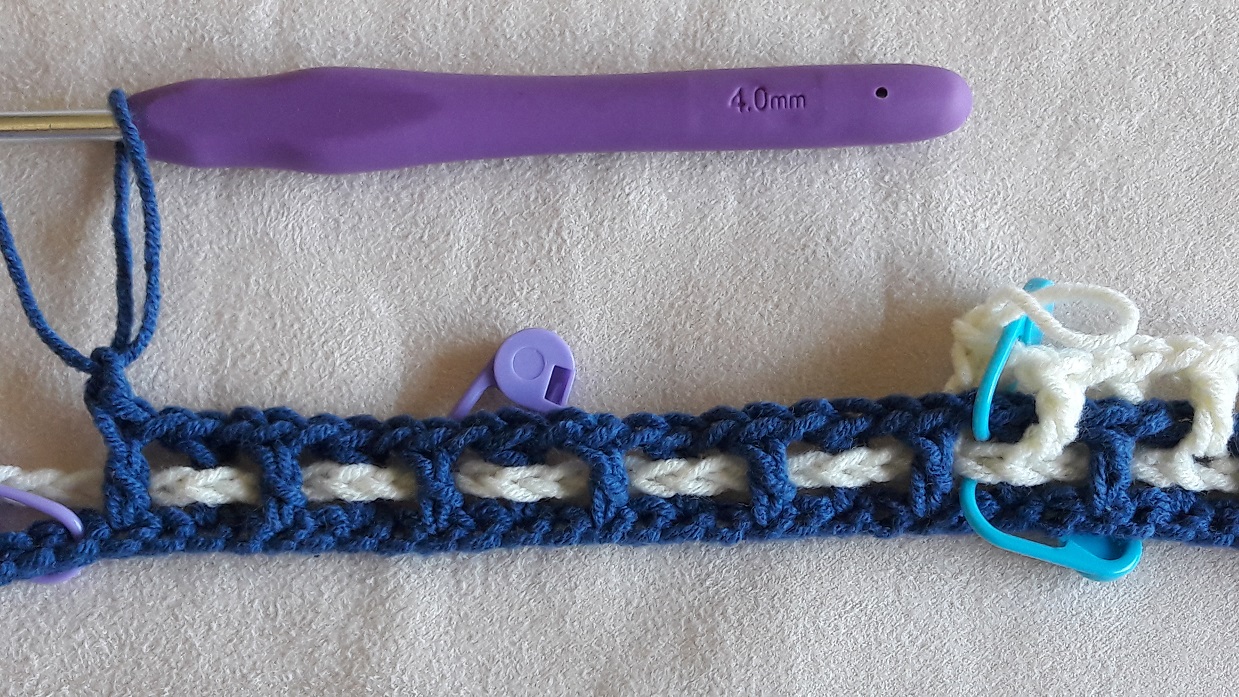
Start with the first side double crochet. Use 3 chains for this or the method you prefer to use as a starting double crochet. And make another chain that comes in between the double crochets. Because color 2 will be on top of the next double crochet you can already crochet the next double crochet. Skip 1 stitch of the setup row and crochet your double crochet at the place where the stitchmarker is (stitch 239).
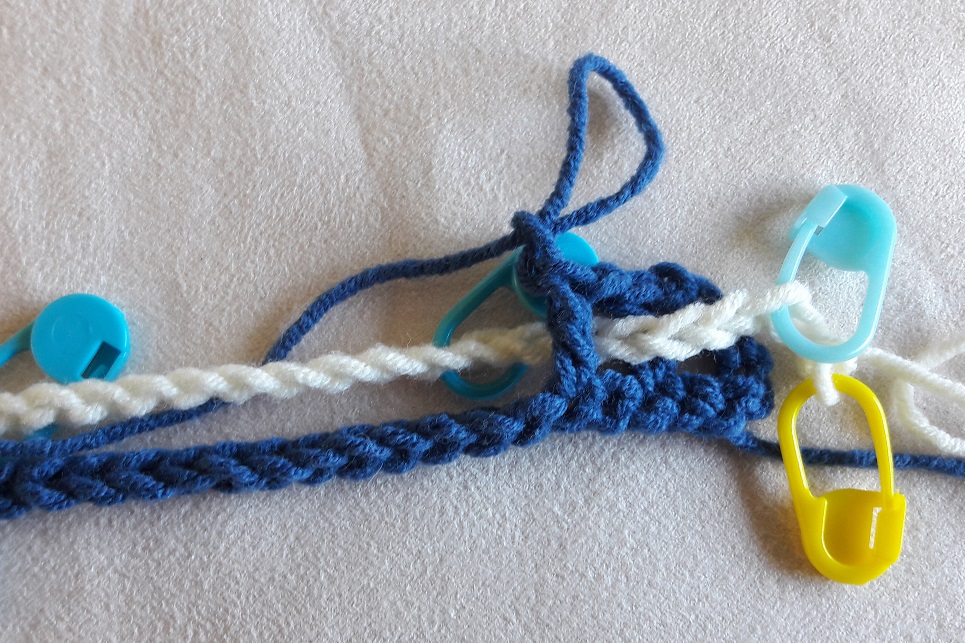
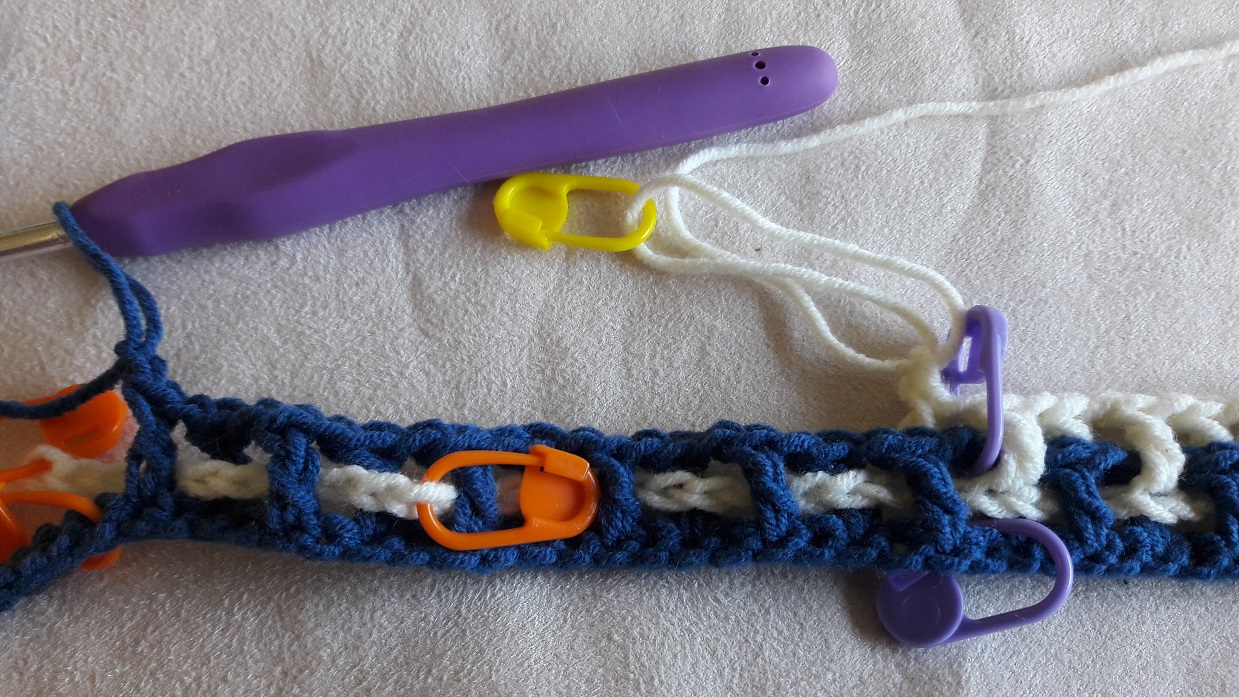
Take up the chain row and put it on top of the last crocheted double crochet. The ‘tail’ is at the left, the end with the stitchmarker is on the right.
Lay the chain row down neatly with the V-shapes facing you.
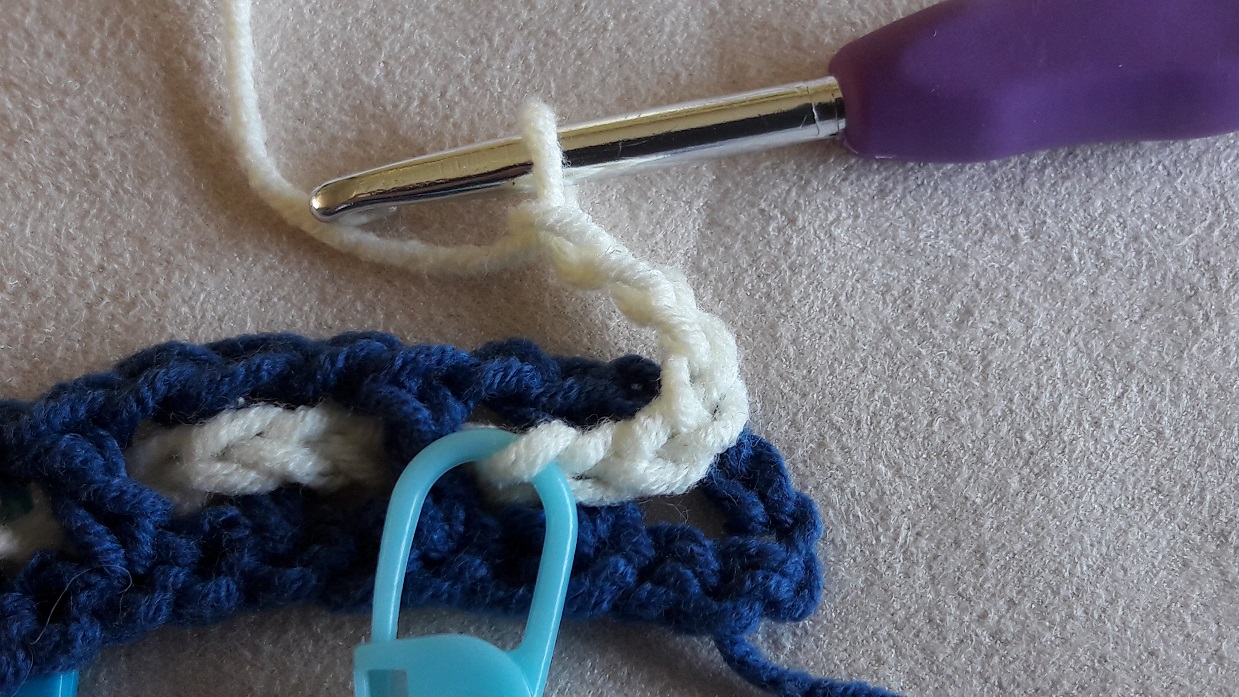
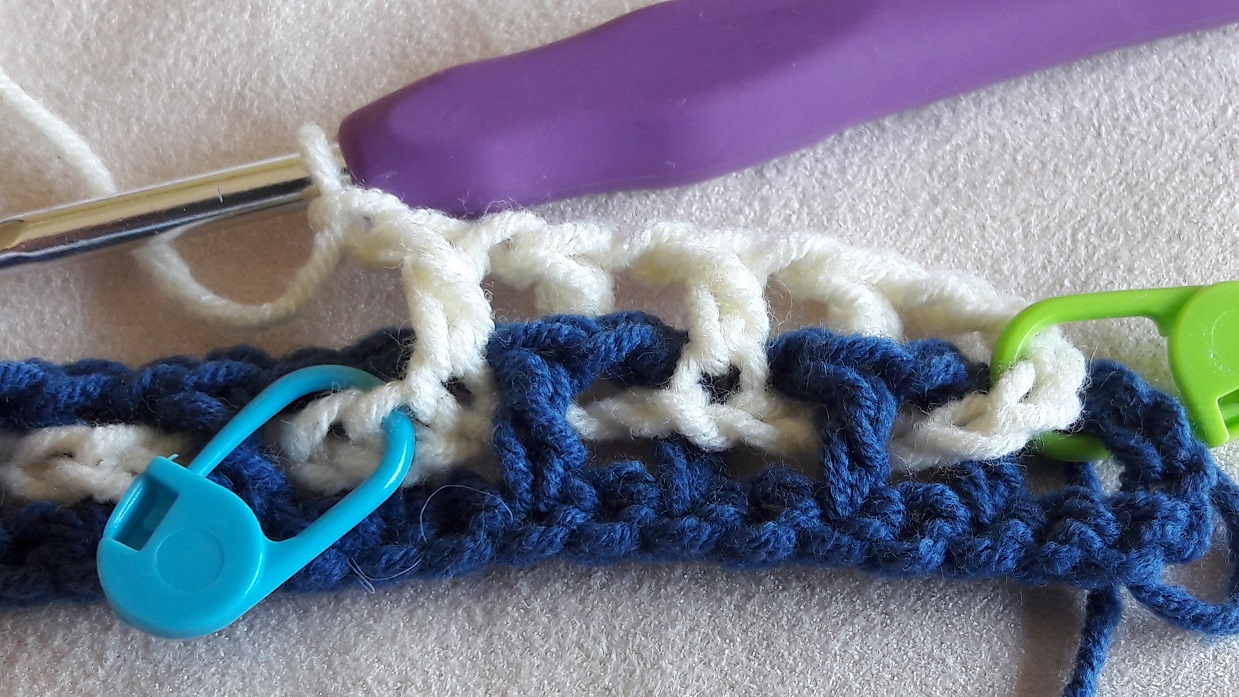
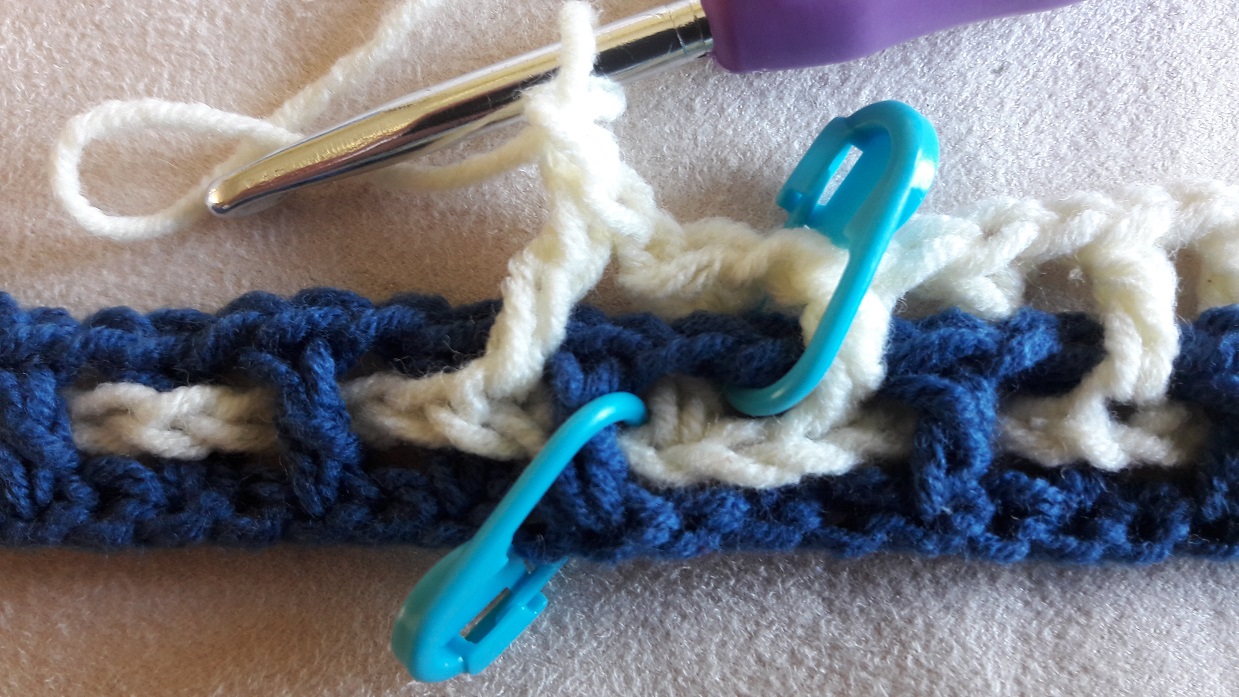
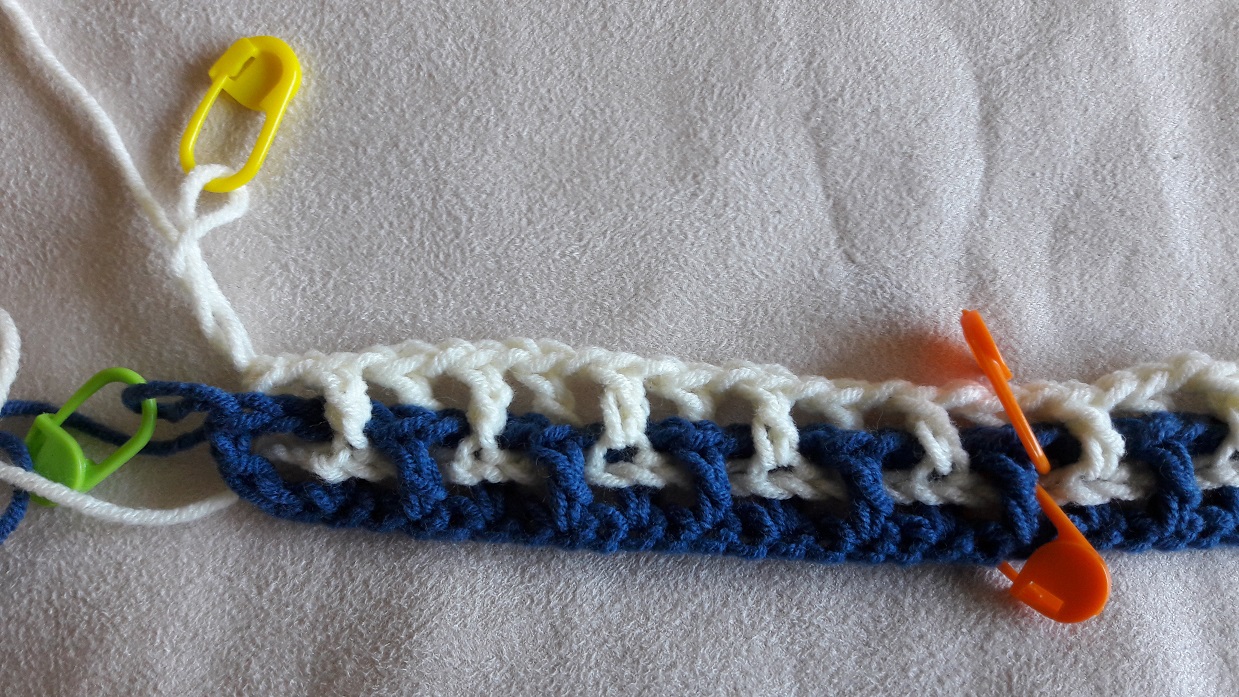
Now you will crochet the next double crochet (after you have made the in-between-chain, and skipped 1 stitch of the setup row, I won’t repeat that from this point on) over the white setup row. You will probably notice what is happening now 🙂 .
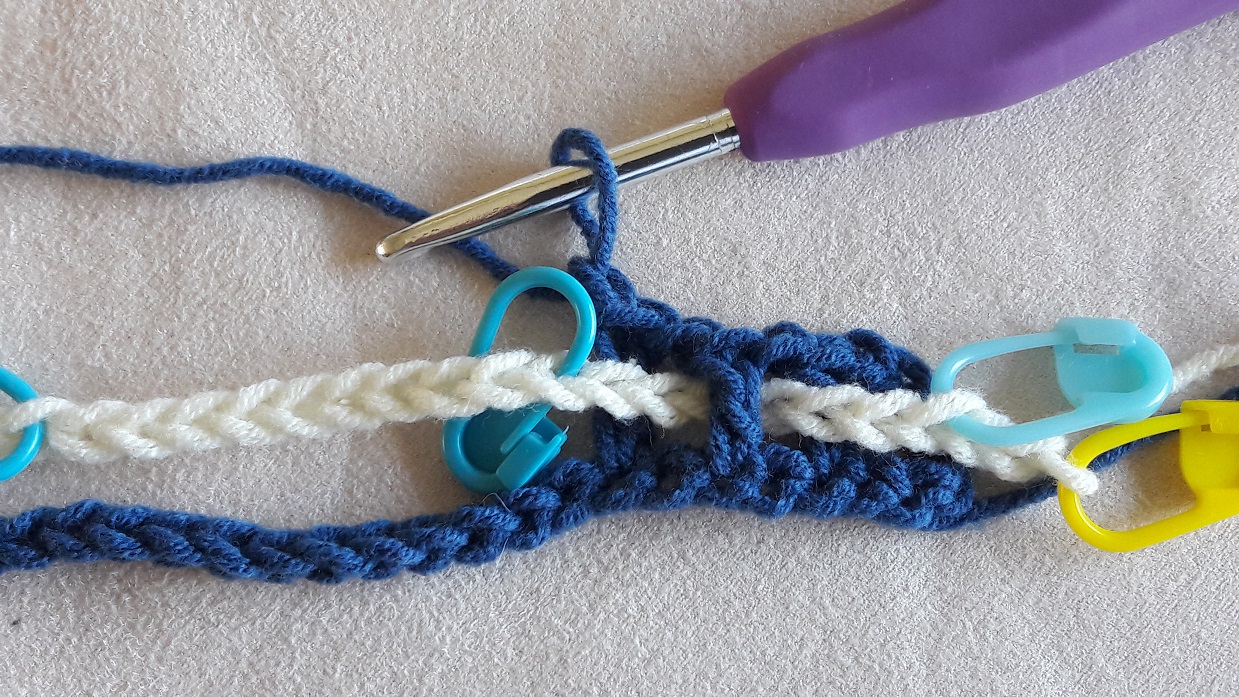
Make the next double crochet behind the white setup row. The chain row will be woven through bit by bit this way.
Next double crochet in front of the white setup row again.
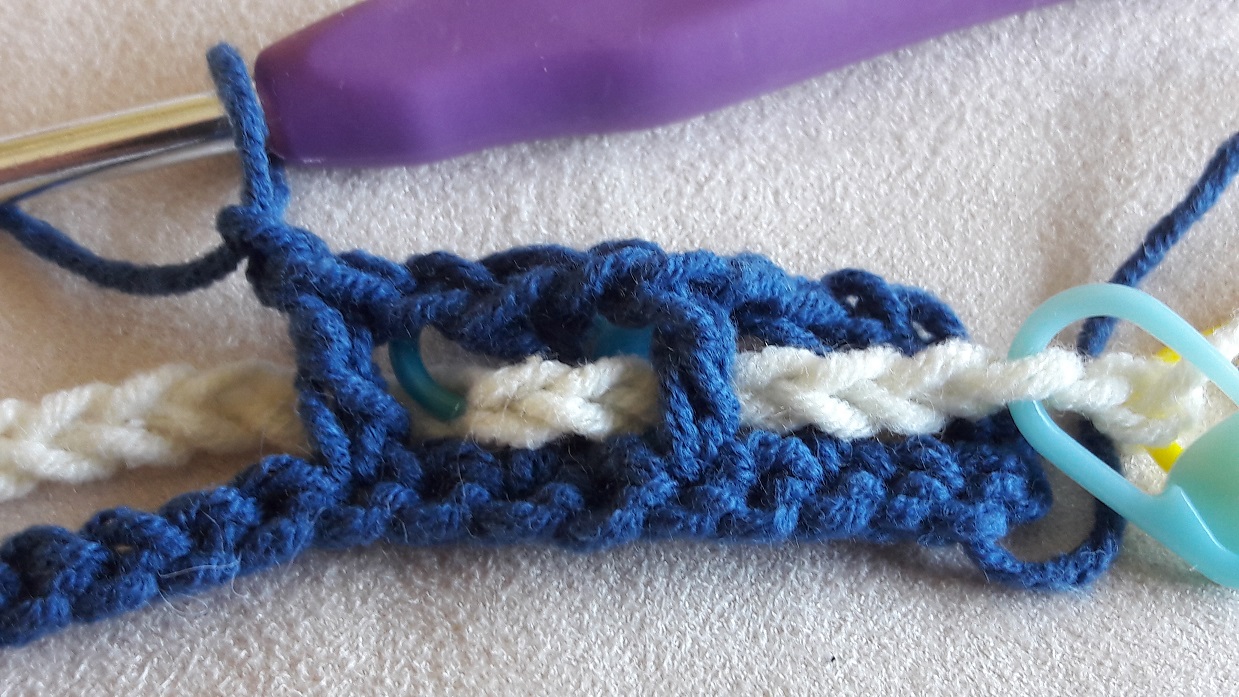
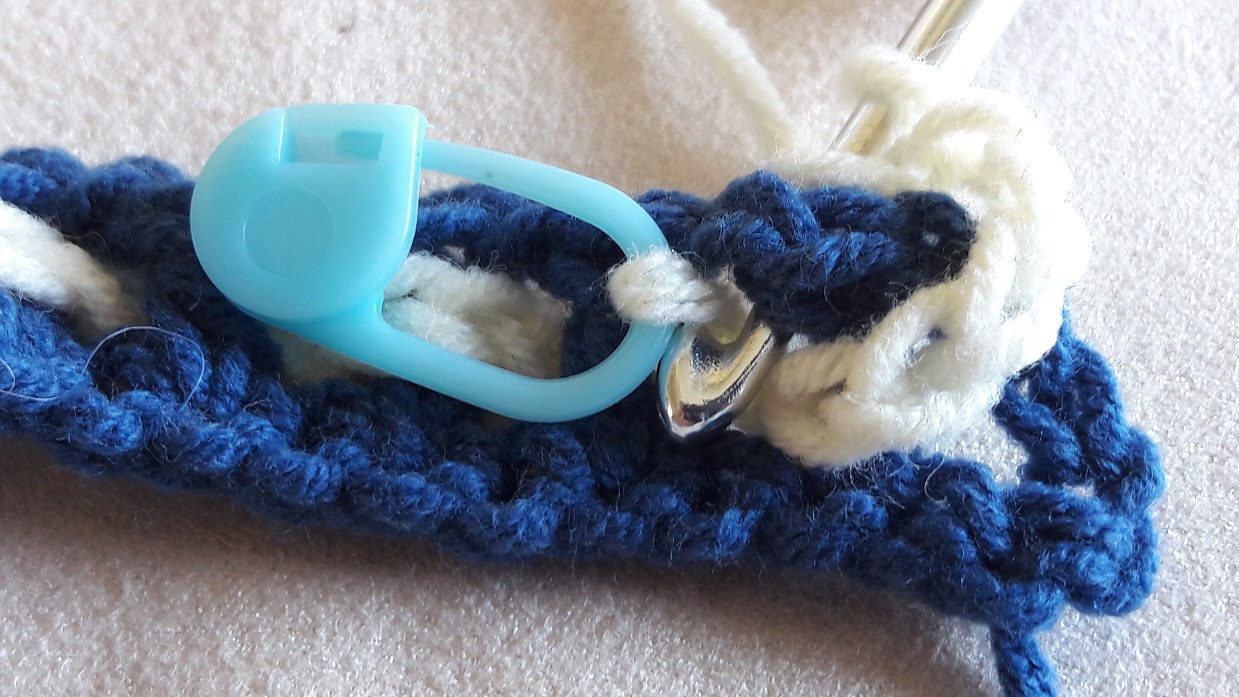
Continue making double crochets until you’ve reached the first stitchmarker in the setup row of color 1. Look at the picture after this for the check. Again this last double crochet has to be done in the stitch before the stitchmarker! Because you have worked until the stitchmarker in stitch 220, you now have made 10 squares.
You will now stop for a moment with crocheting with color 1. You will now first start with a bit of row 1b. And that’s exactly the same as what you did with the practice piece.
Look at the tutorial here of the practice piece if you don’t know how to do this exactly. I will not repeat it very elaborately here.
You will start again by making the first 3 chains and the in-between chain.
Make the next double crochet at the back. This is the place where the stitchmarker is (stitch 237). Work through square 2 of color 1.
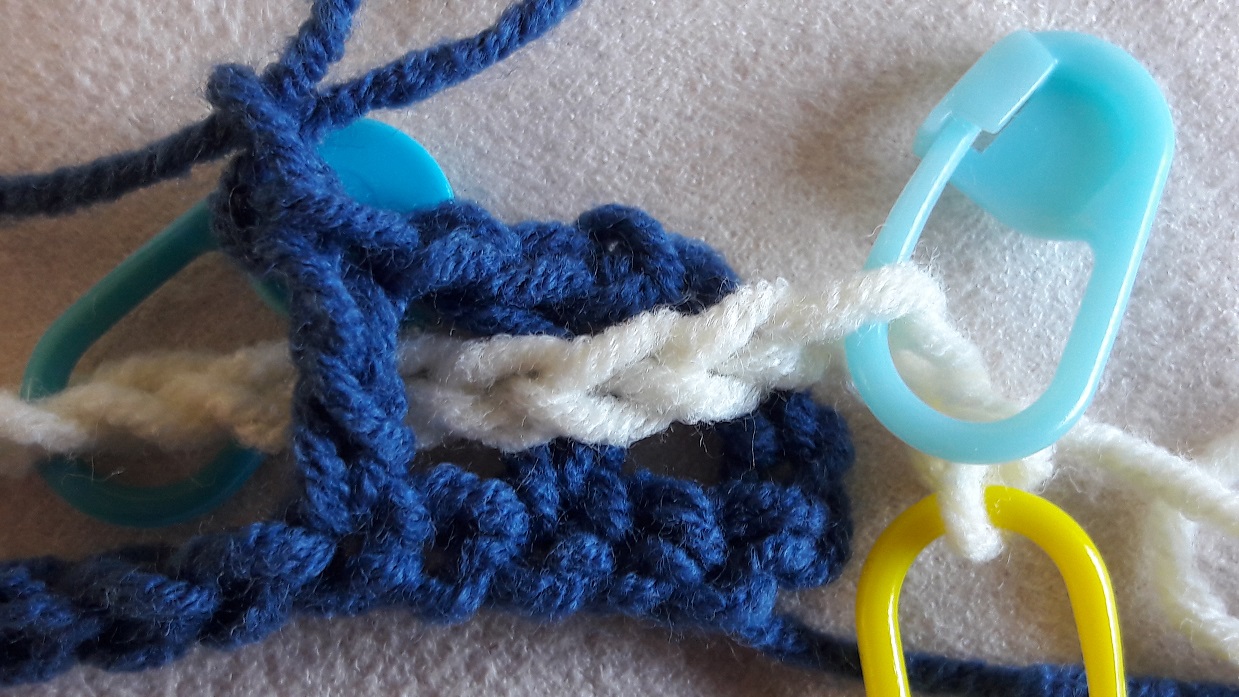
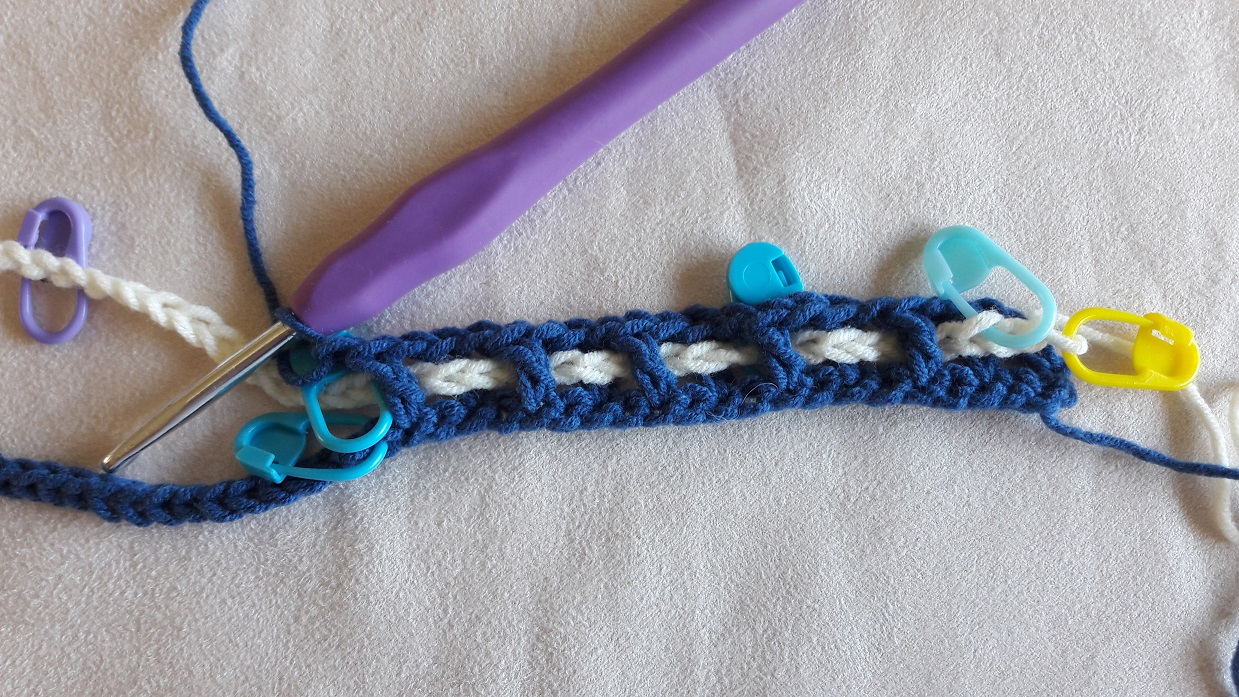
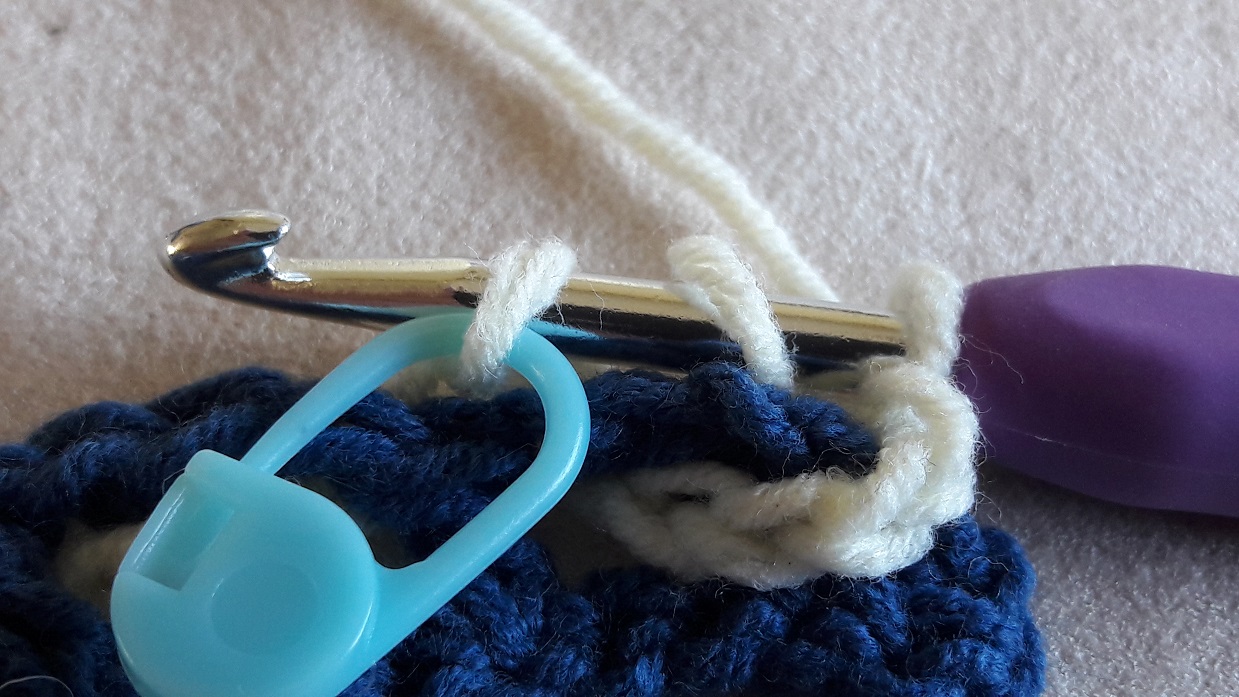
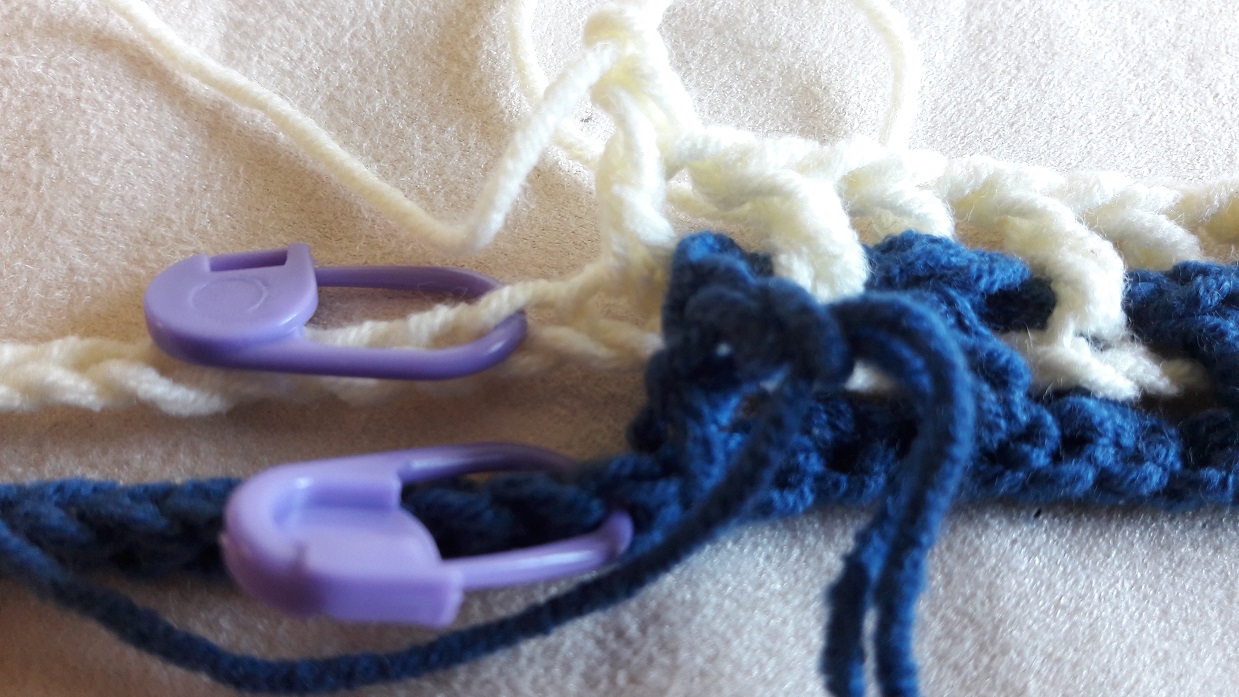
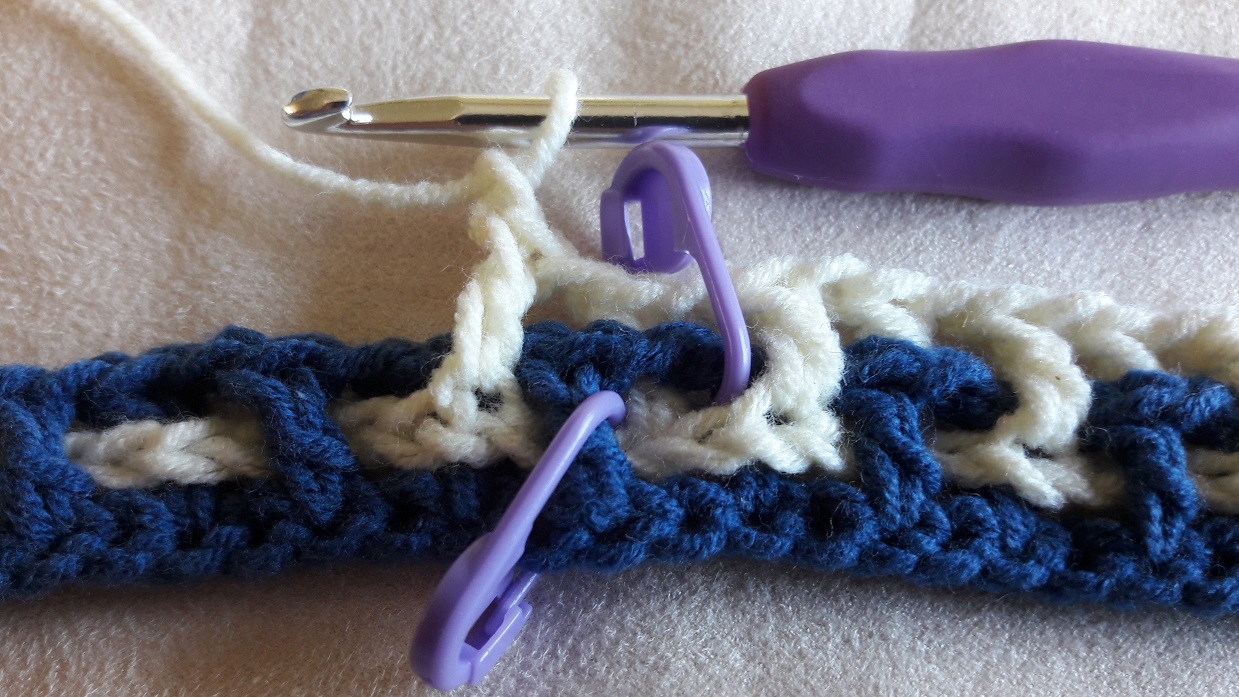
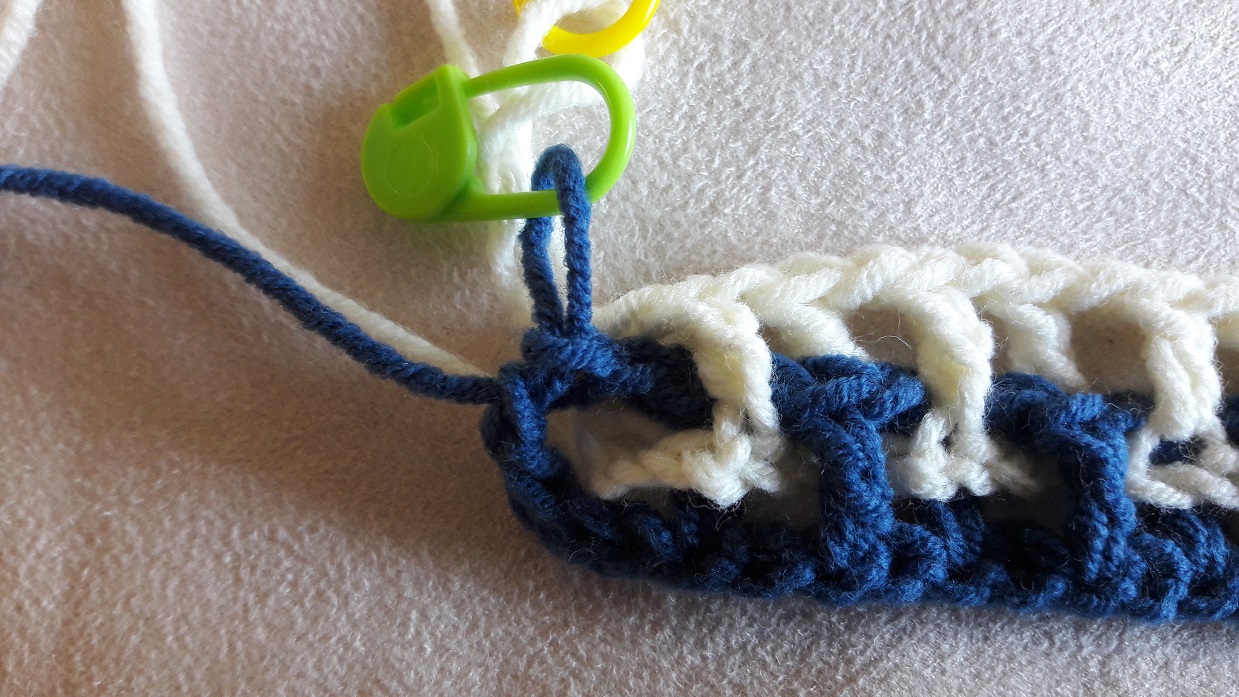
Work alternating back and front until you’ve come to the stitchmarker of color 2. You see in the picture that the last double crochet is made at the front into the stitch before the stitchmarker.
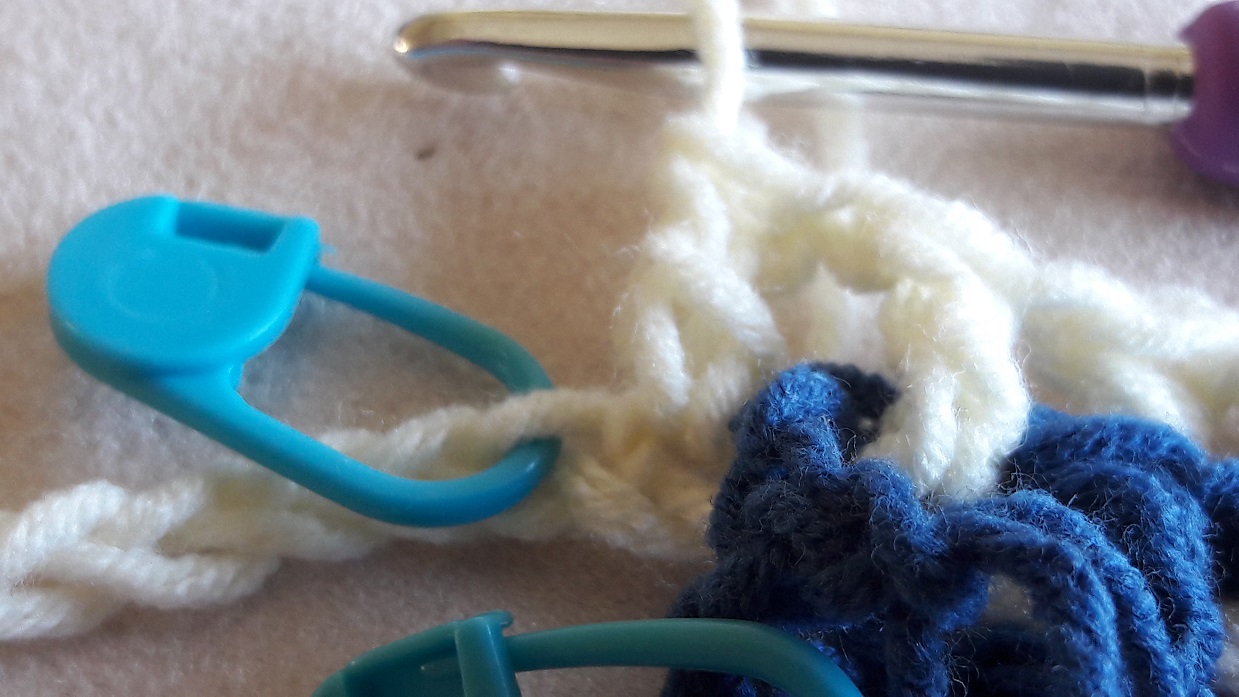
Continue to work until you’ve come to the next stitchmarker of color 2. Again your last double crochet should have been made into the stitch before the stitchmarker. You have now made 9 white squares.
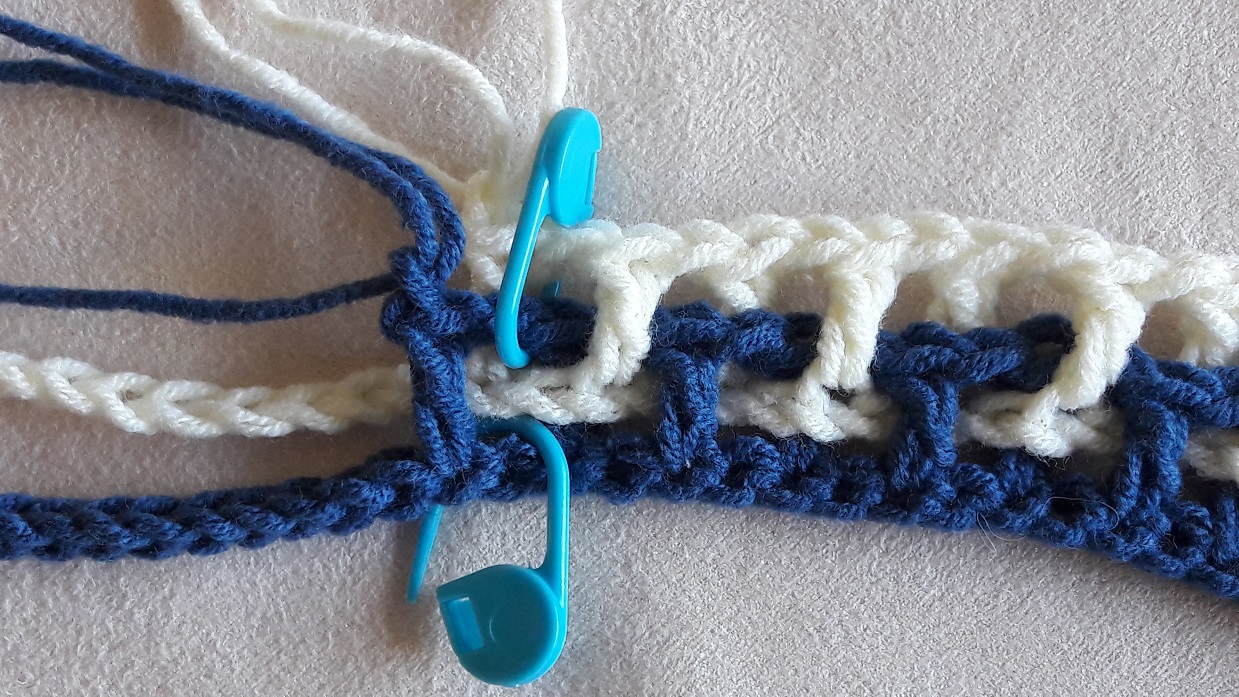
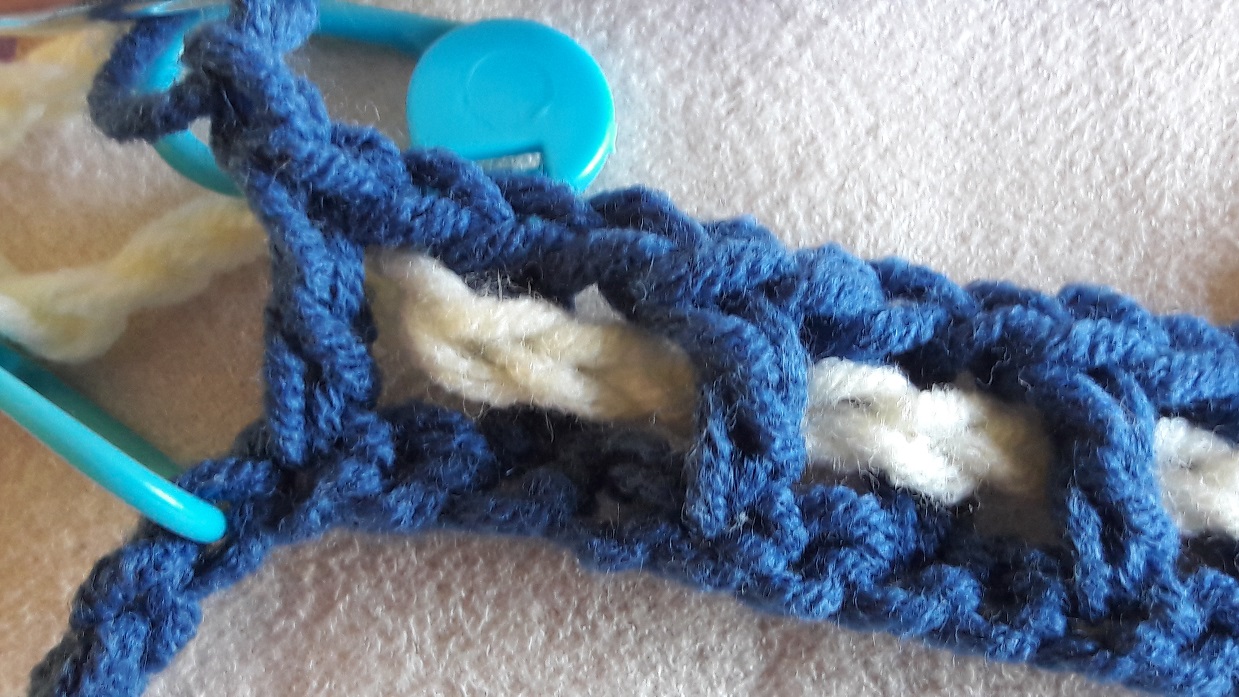
Now place a stitchmarker (the top one in the picture) to anchor the stitches in place. Because of the shifting this has the tendency to go askew, and in this way you will prevent that. The bottom one will be attached the right way in a moment.
I do this a little bit differently in the video, but it’s almost the same. So watch the video, it will help you prevent the shifting. You can also look at the video with the extra tips: https://youtu.be/xUbPqQ7JAqc
Stop now with color 2 and continue to crochet further with color 1 until you’ve come to the next stitchmarker. You have now 20 blue squares in total.
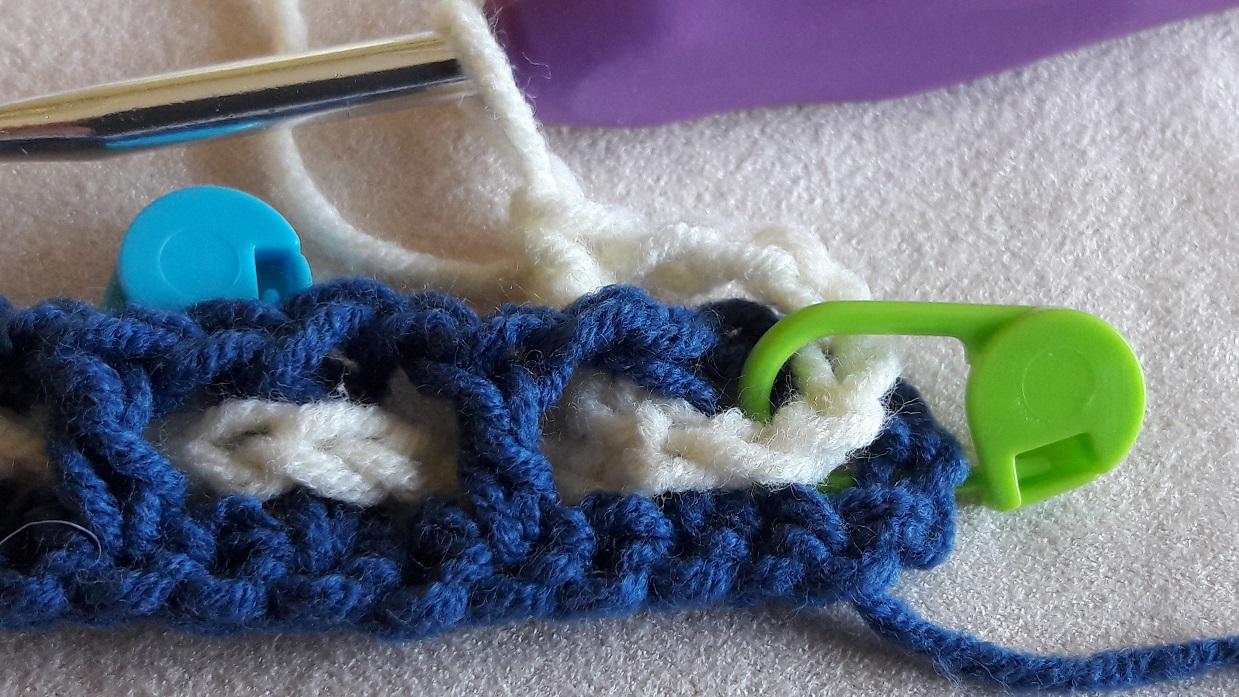
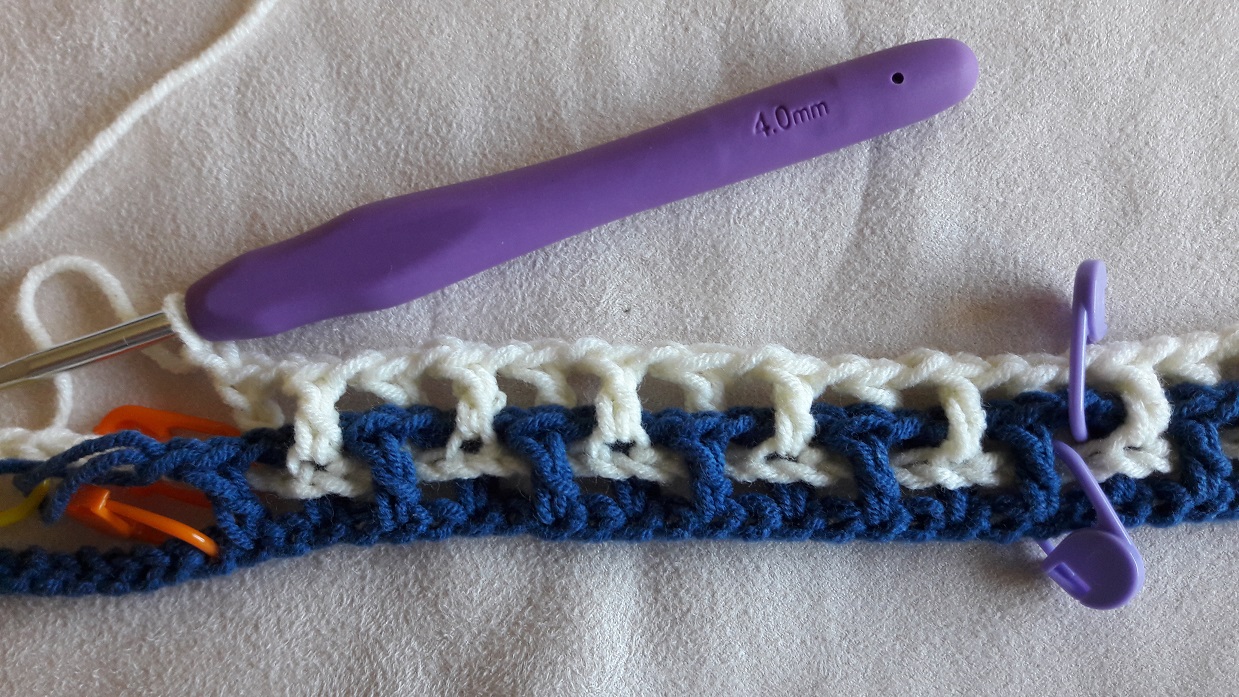
Continue crocheting with color 2 and fasten the stitchmarker (the bottom one in the picture).

Continue crocheting until you’ve come to the next marker of color 2. Check if the last stitch is made before the stitchmarker.
And again continuing with color 2 until the next stitchmarker. You should have 19 white squares now.
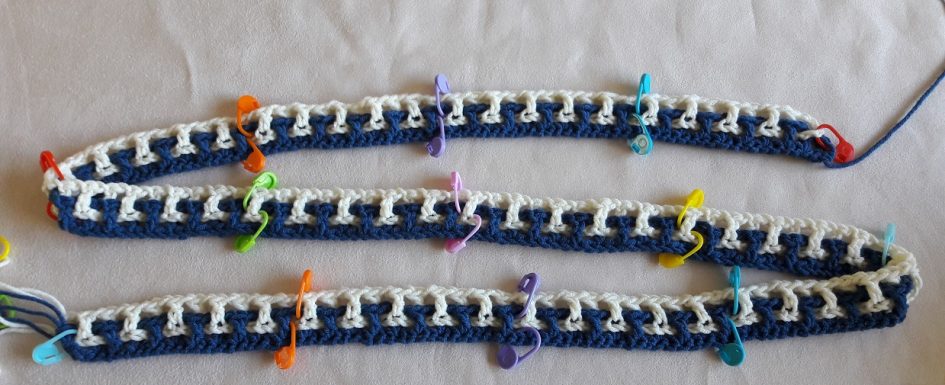
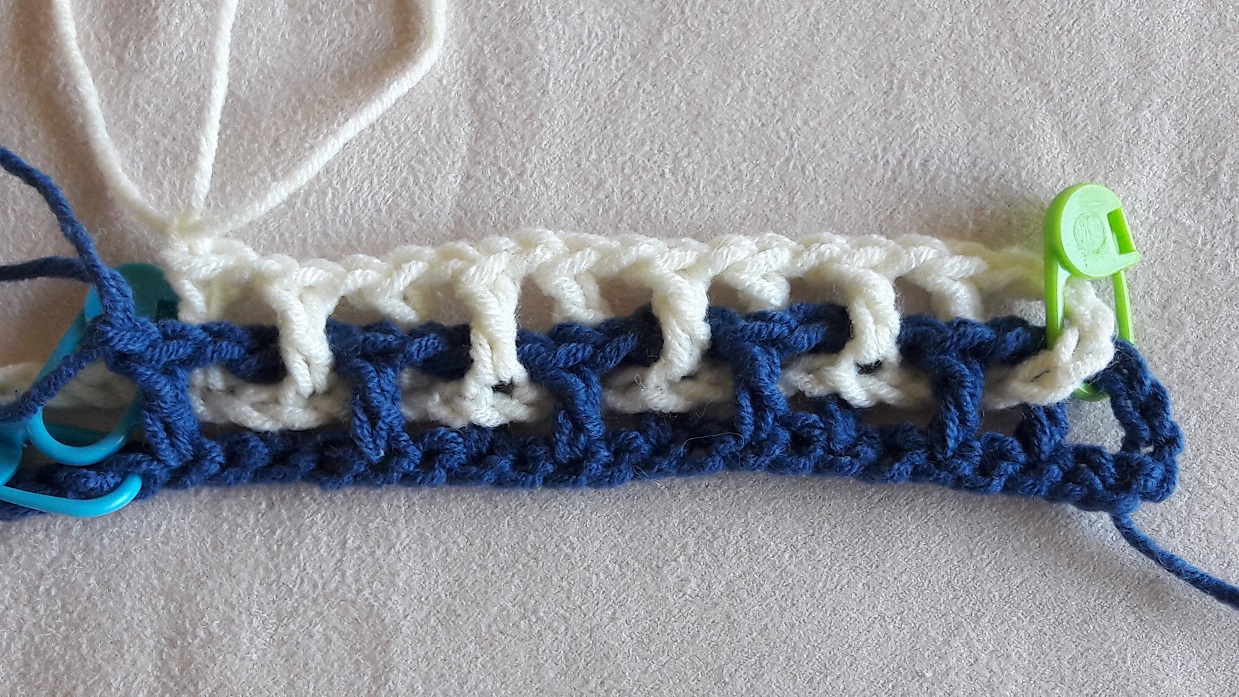
After this you can see the next steps of the shorter piece in a fast tempo. At the end you can see how it looks when you’ve done the full width of 120 squares.
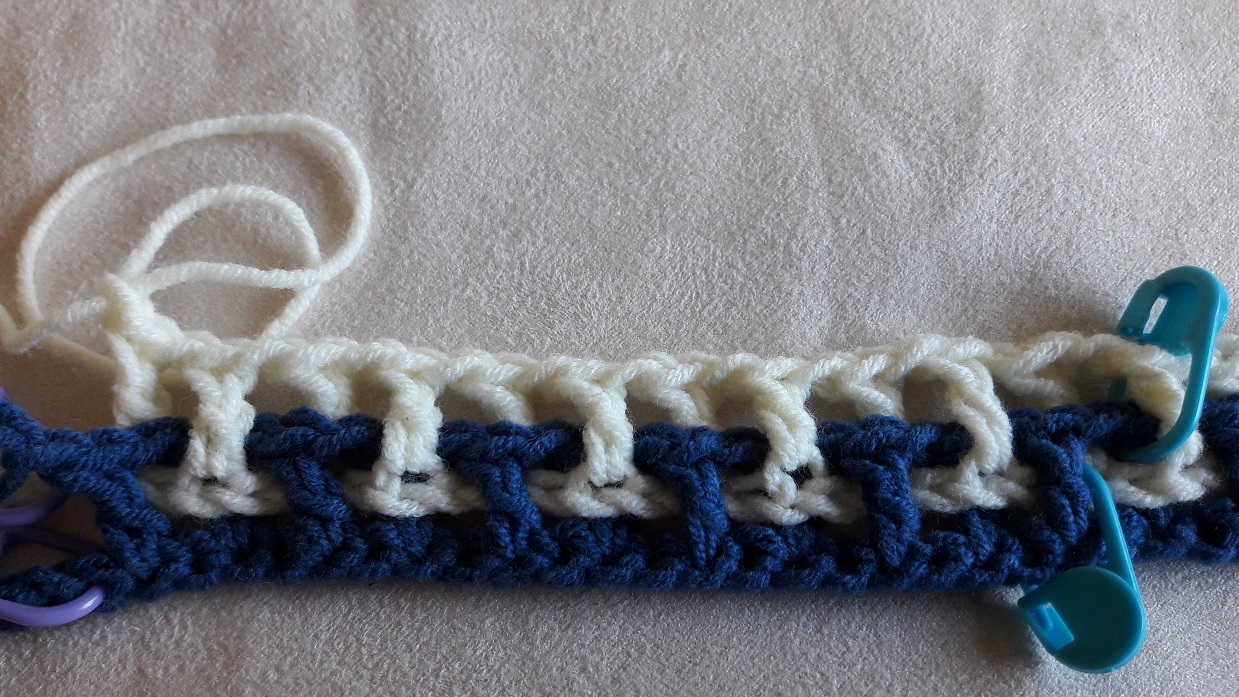

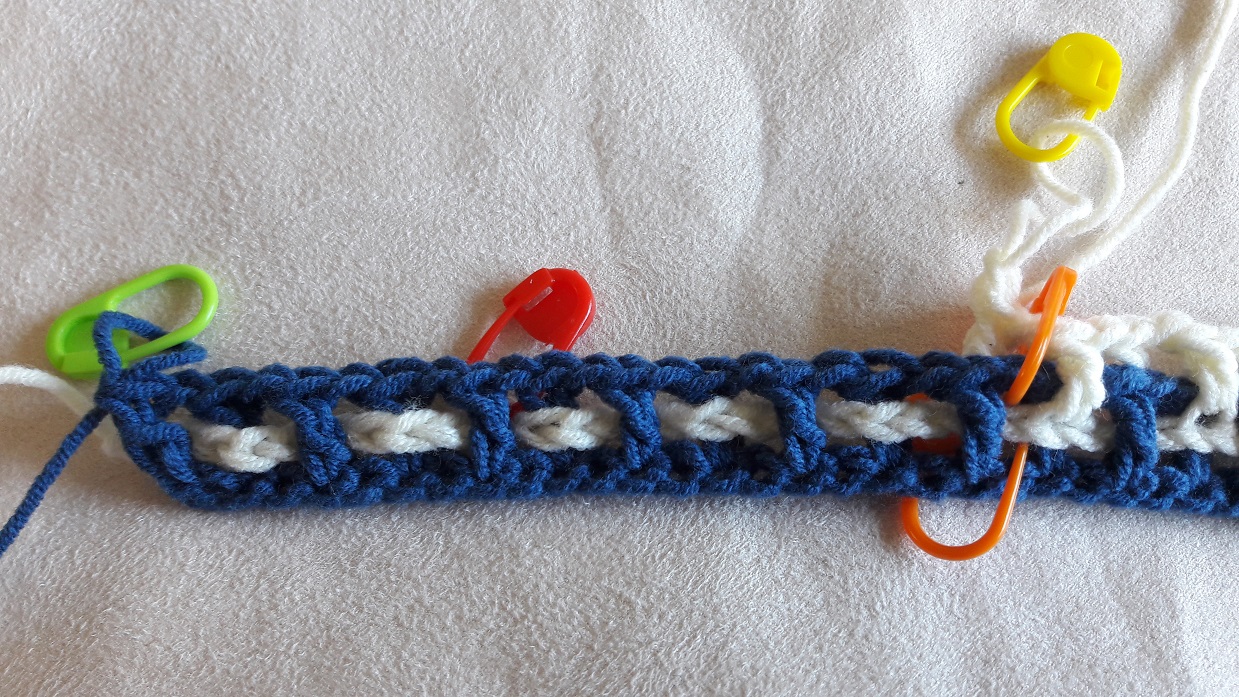
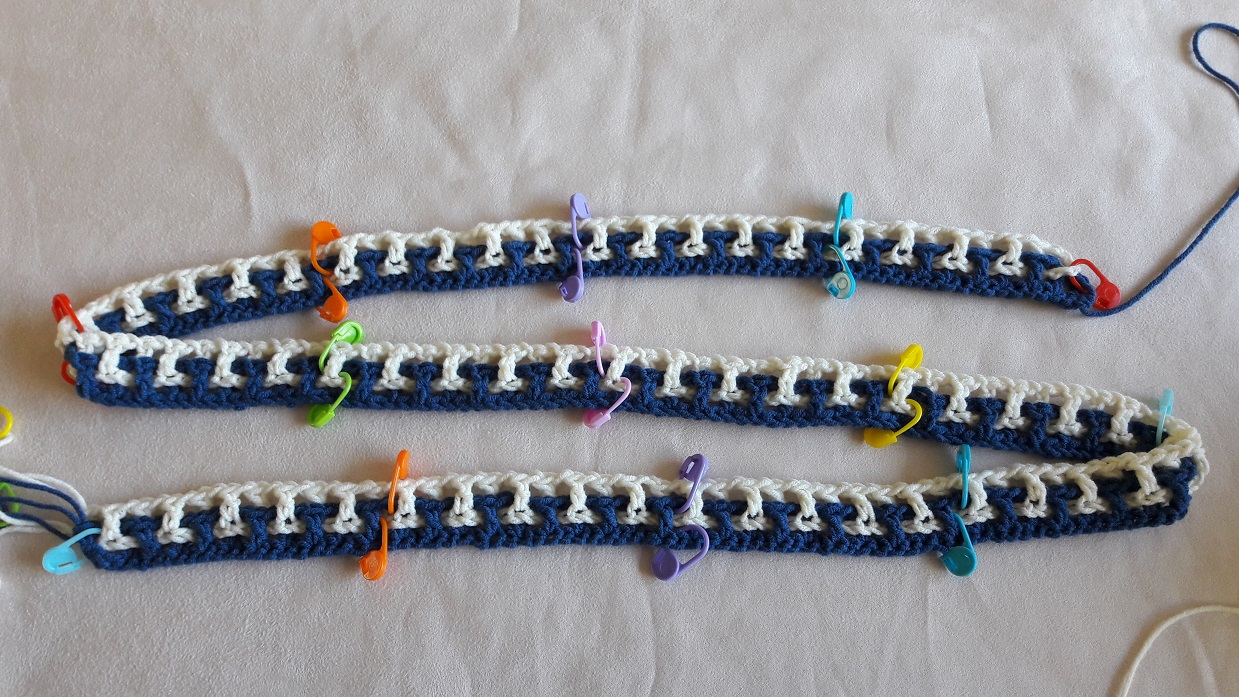
And this is how it looks when you’ve done all stitches.
Row 2 to 5 of part 1
Click here to go to the page with row 2 to 5
Video’s